
How To
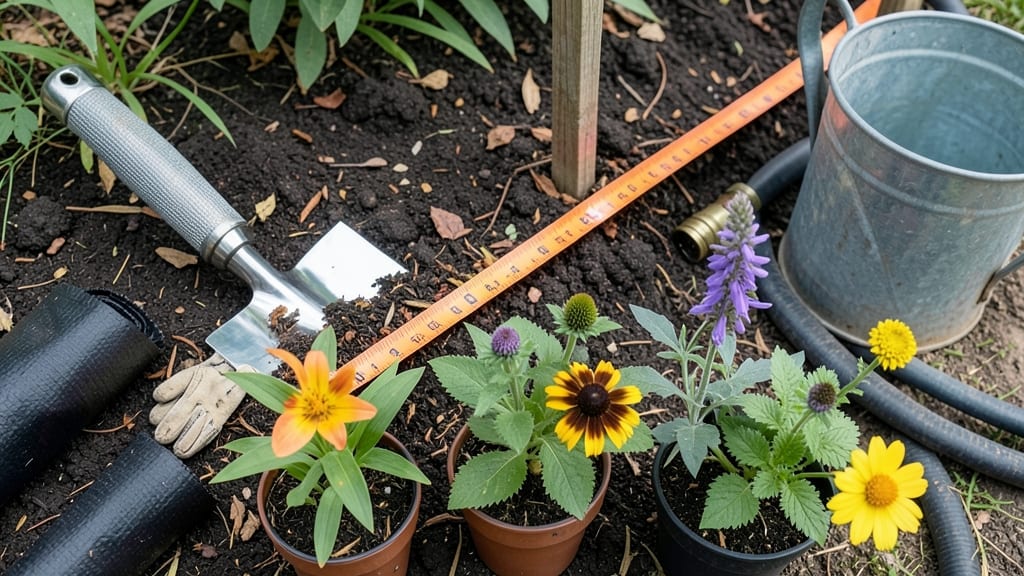
That first shovel of dirt marks the start of something beautiful. 🌿 Building a flowerbed isn't just digging a hole—it's creating a permanent stage for your garden's stars, where every plant thrives and every season shines.
The secret lies in the prep work: sunlight mapping, soil science, and drainage that won't turn your beds into soggy mud pits by spring.
You'll need basic tools (shovel, level, tape measure), sturdy edging materials (brick, stone, or metal), and a plan for drainage—because no one wants flowers drowning in their own roots.
The right soil mix makes all the difference: native soil amended with compost for plants that drink up nutrients like thirsty gardeners at a watering can sale.
By the time you're done, you'll have a raised flowerbed with clean lines, proper drainage, and soil so rich your plants will practically sing.
Picture it: vibrant blooms all season, weeds struggling to climb the edges, and a space that looks like it belongs in a magazine—except it's yours to tend.
This design works for any yard size, from city balconies to country acreage. The key is adapting the materials and scale to your space while keeping those drainage principles sacred. Let's get those borders built right—so your flowers can do their thing in style.
📚 In This Guide
- What you need
- Instructions
- Tips and common mistakes
- Wrapping up and next steps
What you need
- ● Raised flowerbed frame: Untreated wood (cedar or redwood, 6–8 ft long, 8–12 inches tall)
- ● OR metal or composite panels (galvanized steel or recycled plastic)
- ● Quantity: 4–6 pieces (depending on size)
- ● Hardware: Stainless steel or galvanized screws (2.5–3 inches long)
- ● Corner brackets (for extra stability)
- ● Landscape fabric: Weed-blocking, breathable (12–18 inches wider than bed)
- ● Soil: Topsoil (2–3 cubic feet per square foot of bed)
- ● Compost or aged manure (mix 20–30% for nutrients)
- ● Drainage: Gravel or crushed stone (1–2 inches thick, for base layer)
- ○ Optional: Perforated drain pipe (if poor drainage is an issue)
- ● Tools: Shovel or spade
- ● Level
- ● Measuring tape
- ● Saw (if cutting wood)
- ● Drill/driver
- ● Wheelbarrow (for hauling soil)
- ● Gloves & knee pads (because comfort matters!)
- ● Edging material (bricks, stones, or metal for a polished look)
- ● Mulch (pine straw, shredded bark, or cocoa hulls)
- ● Plant starter fertilizer (for a head start on growth)
- ● Watering system (drip irrigation or soaker hoses)
- ● Post-hole digger (if securing corners with stakes)
Step-by-Step instructions for building a raised flowerbed
Here's how to create a sturdy, well-draining flowerbed that lasts seasons.
🪴 Step 1: Mark and Prepare the Flowerbed Location
Use a garden hose or spray paint to outline your 4-foot wide flowerbed (standard width for easy access). I always mark the perimeter first—this prevents overdigging and keeps the shape clean. Step back and check the layout; you'll want even spacing between beds for pathways. For a 4-foot bed, allow at least 2 feet of walkway around it for maintenance.
Remove any grass or weeds within the marked area using a shovel or sod cutter. I like to dig down 4-6 inches to loosen compacted soil—this helps roots establish better later. If your soil is heavy clay, add 2 inches of compost to the bottom now. You'll see the difference in drainage right away when planting.
🌱 Step 2: Build the Raised Border Frame
For a 4-foot bed, cut 2x6 lumber into 4-foot lengths for the sides and 4-foot corners for the ends. Assemble the frame using 3-inch deck screws—pre-drill holes to prevent wood splitting. The height should be 6-12 inches (12 inches for heavy clay soil). I reinforce corners with 2x4 braces for extra stability, especially in windy areas.
Place the frame on the prepared soil and check for level using a 4-foot level. Adjust the corners by tapping the frame gently with a rubber mallet until it sits perfectly flat. This step is critical—uneven frames cause water pooling or erosion over time. Once level, secure the frame to the ground with stakes every 2 feet to prevent shifting.
💧 Step 3: Add Drainage and Fill with Soil
Line the bottom of the frame with landscape fabric to block weeds and prevent soil mixing with native earth. Add a 2-inch layer of gravel for drainage—this is especially important if your site floods or has poor soil. I like to use crushed stone because it compacts less over time than pebbles.
Fill the frame ¾ full with a mix of topsoil and compost (equal parts). For a 4-foot bed, you'll need about 1 cubic yard of mix total. I like to layer it like this: 4 inches of compost-rich mix at the bottom, then 8 inches of topsoil. This ensures nutrients are concentrated where roots will grow most actively. Press down lightly with your hands to settle the soil before planting.
☀️ Step 4: Plant and Mulch for Long-Term Success
Arrange plants based on their mature size, placing tall varieties at the back and low-spreading plants at the front. Water each plant deeply after setting it in the soil to eliminate air pockets. For a 4-foot bed, I typically plant 12-16 mature plants (depending on spacing needs). Step back and check the balance—you want a full, layered look from day one.
Spread 2-3 inches of mulch over the soil surface, leaving a 1-inch gap around plant stems. I use shredded bark because it breaks down slowly and improves soil as it decomposes. Mulch helps retain moisture, suppress weeds, and regulate soil temperature. Replenish it annually in spring—this keeps the bed looking neat and healthy all season.
Tips & tricks for perfect raised flowerbeds
These simple strategies will help you avoid common mistakes and create a beautiful, long-lasting garden feature.
Precision in Layout: When marking your 4-foot flowerbed in Step 1, use a string line and stakes for perfectly straight edges. This prevents crooked beds that look unprofessional. I always double-check diagonals to ensure perfect rectangles—trust me, it makes all the difference when your garden looks intentional.
Frame Stability Matters: In Step 2, don't skip the corner braces—wind can easily shift unsecured frames. I've seen 12-inch-tall beds topple in storms without proper reinforcement. For extra stability, add a center brace if your bed is longer than 6 feet, especially in windy climates.
Soil Layering Secret: The 4-inch compost layer at the bottom in Step 3 is your secret weapon for root health. This nutrient-rich zone gives plants a strong start while the topsoil provides structure. For clay-heavy soils, mix in perlite to improve drainage without changing the layering ratio.
Planting Pro Tip: When arranging plants in Step 4, use a small stick to mark planting spots before digging. This prevents overcrowding and helps visualize the mature plant sizes. I always sketch a simple layout first—it saves time and ensures balanced spacing.
Pro Tips for Build A Flowerbed
- These simple strategies will help you avoid common mistakes and create a beautiful, long-lasting garden feature.
- Precision in Layout: When marking your 4-foot flowerbed in Step 1, use a string line and stakes for perfectly straight edges.
- Frame Stability Matters: In Step 2, don't skip the corner braces—wind can easily shift unsecured frames.
Frequently asked questions
Got questions about building the perfect flowerbed? You’re not alone! Here are some of the most common concerns—and their straightforward answers—to help you get it right the first time.
What’s the best time of year to build a flowerbed?
Spring or early fall are ideal! In spring, the soil is workable, and plants can establish roots before summer heat. Fall planting gives roots time to settle before winter. Avoid building in freezing temps or during peak summer drought—soil compaction and erosion can become headaches.
How deep should my flowerbed be?
For most flowers, aim for 6–12 inches deep. This depth ensures roots have space to spread without competing with grass or weeds. If planting perennials or shrubs, deeper (12–18 inches) is better. Shallow beds (under 6 inches) may struggle with moisture retention and root growth.
Can I build a flowerbed without raised borders?
In-ground flowerbeds are totally doable—just focus on proper drainage and weed barriers. Use landscape fabric under the bed to block weeds, and slope the soil slightly for water runoff. Raised beds just make maintenance easier, but they’re optional if you’re committed to regular upkeep.
Why is water pooling in my flowerbed after rain?
Poor drainage is usually the culprit! If water sits for hours, your bed may need amendments like sand or compost to improve soil structure. For severe cases, add a gravel layer at the bottom or create a slight slope. Test drainage by digging a small hole—if it fills in under 30 minutes, you’ve got a problem!
What’s the easiest way to keep weeds out of a new flowerbed?
Prevention is key! Start with a thick layer of cardboard or landscape fabric under the soil to smother weeds. Top with 3–4 inches of mulch (wood chips or straw work great). Pull weeds early and often—they’re easier to remove when young. A mulch ring around plants also helps!
Wrapping up and next steps
Building a stunning flowerbed is all about planning, preparation, and patience—but the results are absolutely worth it! 🌸 With the right materials, proper drainage, and a touch of creativity, you’ve got everything you need to craft a thriving garden space that’ll make your neighbors green with envy.
Now that you’re armed with expert tips, roll up those sleeves and get planting!
Ready to take it further? Next, choose your dream plants—whether it’s vibrant annuals, hardy perennials, or fragrant herbs—and watch your flowerbed transform into a blooming masterpiece. Happy gardening! 🌱