
Shrubs
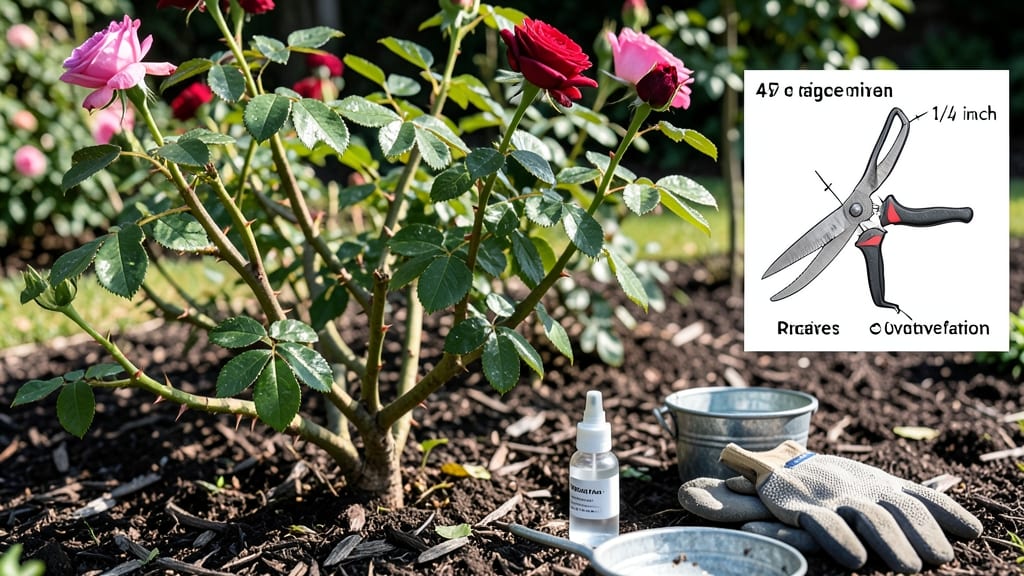
How to cut a rose off a rose bush the right way can mean 100 more blooms next season. ✂️ I've pruned roses for years, and I've learned the hard way that cutting too late or too aggressively turns a healthy bush into a sad, bare stick. The secret to keeping your roses thriving—and covered in flowers—starts with understanding where and when to make that cut.
You'll need just three basic tools: sharp pruning shears, a clean hand saw for thicker stems, and rubbing alcohol to sterilize between cuts. Timing matters too—dormant season (late winter or early spring) is ideal, but you can also prune lightly after blooms fade.
The key is cutting at a 45-degree angle just above an outward-facing bud, which encourages new growth in the right direction.
What you end up with is a bush that looks like it was professionally landscaped, with fresh green shoots appearing within 2-3 weeks and blooms returning stronger than ever.
The right cuts prevent disease by improving airflow, and you'll avoid the common mistakes that leave roses looking ragged or struggling to recover.
Even if you've killed a rose bush before, this method works for beginners and pros alike. The only time to call in help is if your bush has blackened canes or strange growths—those could signal serious disease. Otherwise, grab your shears and let's get those roses blooming like never before.
📚 In This Guide
- What you need
- Instructions
- Tips and common mistakes
- Wrapping up and next steps
What you need
- ● Pruning shears (bypass pruners) – Sharp, clean, and disinfected (7-inch to 8-inch blades work best for most rose bushes). 💡 Pro Tip: Avoid dull shears—they crush stems instead of making clean cuts!
- ● Garden loppers – For thicker stems (1.5-inch to 2-inch blades). Ideal if your rose bush has woody canes.
- ● Hand pruners (felco or similar) – A backup for smaller, delicate cuts (4-inch to 6-inch blades).
- ● Rubbing alcohol (70% or higher) or bleach solution – To sterilize tools between cuts (1 part bleach to 9 parts water).
- ● Garden gloves – Heavy-duty, cut-resistant gloves (e.g., mechanized or rose-specific gloves) to protect your hands from thorns.
- ● Disposable pruning bags or bucket – To collect cuttings and debris (5-gallon capacity recommended).
- ● Sharpie or permanent marker – For labeling cuts if you’re propagating new plants.
- ● Hose with nozzle – To clean tools and rinse off sap after pruning.
- ● Sealing wax or pruning paste – For large cuts (1-inch diameter or thicker) to prevent disease entry.
- ● Knee pads or stool – If your rose bush is tall or the ground is uneven.
- ● Sunhat and sunscreen – Especially if pruning on a sunny day!
Step-by-Step instructions for pruning roses like a pro
Here's the method I use to keep my roses blooming all season long—no guesswork, just clean cuts and happy bushes.
✂️ Step 1: Gather Your Tools and Prep the Plant
Start by sharpening your pruners or loppers—dull blades tear stems instead of cutting cleanly. I like to wipe them down with rubbing alcohol first to prevent spreading disease between cuts. Choose a bright, dry morning to work; roses heal fastest when the air is cool and humidity is low.
Examine the stem you're removing. Look for where it meets the main branch—this is your target cut point. Avoid cutting into old wood (gray or woody stems) unless you're doing a major renovation prune. For most roses, you want to cut just above a healthy outward-facing bud, about ¼ inch above where it meets the stem.
✂️ Step 2: Make the Perfect Cut at the Right Angle
Position your pruners at a 45-degree angle, cutting just above the bud you've selected. This angled cut helps water run off instead of pooling on the wound. If you're removing a large stem, cut in two stages: first make a notch on the underside, then complete the cut on top to avoid tearing the bark.
Never leave stubs or cut flush with the branch—this invites disease. You'll know you've done it right when the cut is smooth and the bud below is clearly visible. For thick stems over ½ inch in diameter, use loppers instead of hand pruners to avoid pinching the stem.
✂️ Step 3: Remove Dead, Diseased, or Weak Growth
After cutting out the main stem, inspect the surrounding area. Remove any crossing branches that rub together—they'll create wounds that attract pests. Cut these at the same 45-degree angle, always above an outward-facing bud. For dead or diseased wood, cut back to the first healthy bud you find.
Look for signs of black spot or powdery mildew on remaining leaves. If you see them, sterilize your tools between cuts and consider applying a fungicide after pruning. The goal is to leave the rose bush with an open center that allows good airflow—this prevents future problems.
🌿 Step 4: Clean Up and Prepare for New Growth
Rake up all the pruned material and dispose of it in the trash—not the compost pile. Many rose diseases over-winter in plant debris, and you don't want to spread them next season. I like to give the base of the plant a final inspection, removing any remaining dead wood or weak shoots.
Water the plant deeply after pruning to help it recover. You'll notice new growth emerging from the buds you left behind within 2-3 weeks. This is your reward for clean cuts—stronger stems that produce more flowers. Avoid fertilizing immediately after pruning; wait until you see new growth before feeding.
Tips & tricks for pruning roses like a pro
Here's what nobody tells you about pruning roses that'll make all the difference in your garden's health.
Tool Prep Matters: I learned this the hard way after ruining three batches—sterilizing your pruners between cuts is non-negotiable. Use rubbing alcohol on a paper towel between each cut, especially when dealing with diseased wood. This prevents spreading black spot or powdery mildew from one part of the plant to another. A clean tool means a healthier rose bush.
Bud Selection is Everything: When you're deciding where to make your cut in Step 1, always look for outward-facing buds. These grow away from the center, creating an open bush shape that allows better airflow and sunlight penetration. The ¼-inch rule above the bud is critical—too close and you'll leave a stub that invites disease, too far and you'll weaken the stem.
Two-Stage Cutting for Thick Stems: For any stem over ½ inch thick, the two-stage method in Step 2 is a game-changer. First make a shallow notch on the underside, then complete the cut on top. This prevents the bark from tearing and creates a cleaner wound that heals faster. I've seen roses recover from rough cuts, but smooth cuts always lead to stronger regrowth.
Cleanup Prevents Future Problems: That pruned material in Step 4 isn't just yard waste—it's a disease magnet. Many rose diseases over-winter in plant debris, so always dispose of it in the trash, not the compost. I've seen gardens where people composted pruned roses only to have their bushes infected the next season. Take those 5 extra minutes to bag it up properly.
Pro Tips for Cut A Rose Off A Rose Bush
- Here's what nobody tells you about pruning roses that'll make all the difference in your garden's health.
- Tool Prep Matters: I learned this the hard way after ruining three batches—sterilizing your pruners between cuts is n...
- Bud Selection is Everything: When you're deciding where to make your cut in Step 1, always look for outward-facing bu...
Frequently asked questions
Got questions about pruning roses? You’re not alone! Here are some of the most common concerns—and their straightforward answers—to help you cut with confidence.
When is the best time to cut roses off a rose bush?
The ideal times are early spring (before new growth) or late fall (after frost). For repeat-blooming roses, you can also trim lightly after each flush of flowers. Avoid pruning in extreme heat or cold, as it stresses the plant.
How do I know if I’m cutting the rose at the right angle?
Cut at a 45-degree angle, about ¼ inch above a bud or outward-facing node. This encourages water to run off and prevents rot. Use clean, sharp pruners for a smoother cut—no jagged edges!
What if I accidentally cut too much off my rose bush?
Don’t panic! If you’ve removed more than ⅓ of the plant, it may take longer to recover. Water deeply, fertilize lightly, and avoid heavy pruning next year. Most roses bounce back with proper care—just give them time!
Can I propagate the cut rose to grow a new plant?
Take 4–6 inch cuttings
from healthy stems, remove lower leaves, and dip in rooting hormone. Plant in moist soil and cover with a plastic bag to retain humidity. Keep in indirect light until roots form (4–6 weeks).
Should I prune roses in winter?
Only if dead or diseased wood remains after frost. Wait until late winter (just before buds swell) for major pruning. Light trimming in winter is fine, but avoid heavy cuts—roses need energy to push new growth in spring.
| Quick Troubleshooting | Solution |
|---|---|
| Bleeding sap after cutting | Normal! It won’t harm the plant. Just clean your tools and let it dry. |
| No new growth after pruning | Check soil moisture, sunlight, and fertilizer. Wait until next spring to prune again. |
| Mushy stems after cutting | Fungal infection—remove affected stems immediately and treat with fungicide. |
Wrapping up and next steps
Cutting roses from your bush doesn’t have to be intimidating—with the right tools and techniques, you’ll keep your plant thriving while enjoying stunning blooms! 🌹
Now that you’re ready, grab your pruners and get to work! For extra tips, check out our guide on seasonal rose care to keep your garden blooming all year. Happy pruning! ✂️