
How To
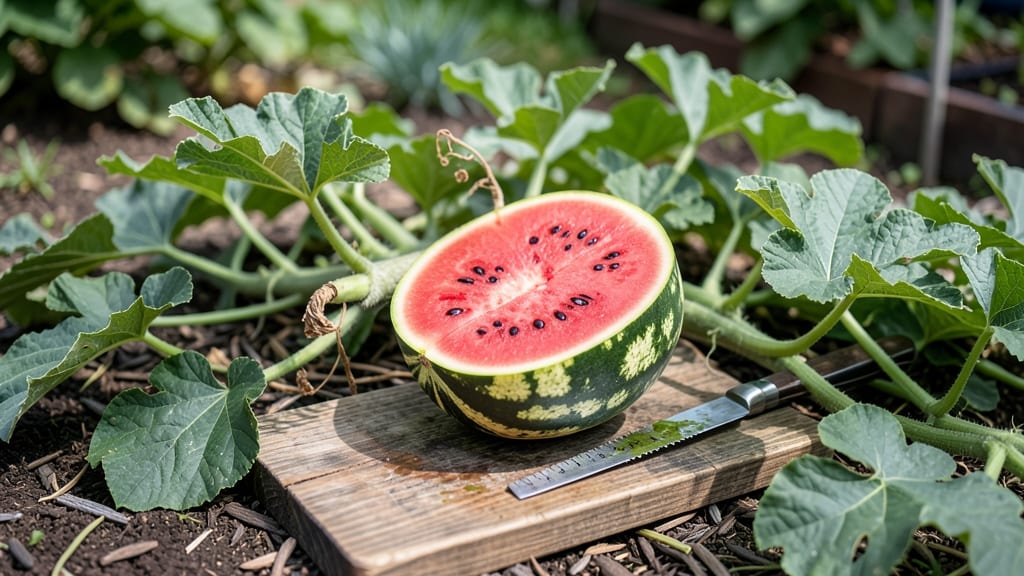
There's nothing worse than slicing into a watermelon only to discover how to know when your watermelon is ready to pick is the key to avoiding rock-hard or bland fruit—yet mastering these cues can turn that disappointment into a juicy, sweet victory. 🍉
Most gardeners wait too long, hoping for extra ripeness, only to end up with overripe fruit that's past its prime. The truth? Watermelons send clear signals when they're perfect—you just need to know what to look for.
From the telltale cream-colored spot on the ground to the satisfying hollow sound when tapped, these 3 field-tested ripeness checks will help you harvest at peak flavor every time.
Timing matters, especially in Zone 6a where spring planting in April-May sets the stage for a July-August harvest window. Whether you're growing a sprawling vine or a compact dwarf variety, missing these cues can mean the difference between a sweet, juicy reward and a chewy letdown.
Let's dive into the science-backed methods that actually work.
Ready to stop guessing and start picking with confidence? I'll walk you through each ripeness indicator—plus how climate and variety can tweak the timing—so you never miss another perfect watermelon again.

3 Field-tested ripeness checks for watermelon picking success
Determining when your watermelon is ready to pick can feel like guessing—until you know the three science-backed ripeness checks that gardeners swear by. These methods combine visual, tactile, and auditory cues to ensure you harvest at peak sweetness.
The best part? You don’t need fancy tools, just your senses and a little patience. Let’s break down each method so you can confidently pick watermelons that are perfectly ripe every time.
First, let’s address the most common question: Can I trust these methods 100%? While no single test is foolproof, combining all three—rind color, tendril drying, and the thump test—gives you a near-guaranteed accurate result.
Even seasoned growers occasionally misjudge, but these checks minimize the risk of underripe or overripe fruit. For example, a watermelon might pass the thump test but fail the tendril check, signaling it needs more time.
Here’s the game-changer: Watermelons don’t continue ripening after picking like some fruits (think tomatoes or avocados). Once harvested, their sweetness and texture are locked in. That’s why nailing these ripeness checks is critical—there’s no second chance once you cut that vine.
Let’s dive into the first method, which starts with a simple color shift most gardeners overlook.
🍉 3 Field-Tested Ripeness Checks
- Rind Color Shift: Look for a cream or yellow "ground spot" (the patch where the melon rests on soil). White or pale spots mean it’s not ready.
- Tendril Test: The small vine near the stem should turn brown and dry. If it’s still green, wait 2-3 more days.
- Thump Test: Tap the melon with your knuckles—hollow sound = ripe. A dull thud means it needs more time.
Let’s start with the rind color check, which is often the first clue that your watermelon is nearing harvest. The ground spot—that patch of skin where the melon touches the soil—is your secret weapon.
When it shifts from white to cream or yellowish, it’s a clear signal that the fruit is maturing inside. Pro tip: This change happens gradually, so check the spot every 2-3 days during the final weeks of growth.
For example, if you planted Sugar Baby watermelons in early May, start monitoring the ground spot in late July.
But here’s where many gardeners go wrong: they assume all watermelons follow the same color rules. Variety matters! Heirloom types like Moon and Stars may develop a faint yellowish hue, while hybrid varieties like Crimson Sweet might show a more pronounced cream color.
To avoid confusion, always compare the ground spot to nearby unripe melons. If yours is noticeably lighter, it’s likely ready. Pair this with the next test to confirm.
The tendril drying test is another foolproof way to gauge ripeness, and it’s often overlooked in favor of the thump test. Focus on the small vine (tendril) near the main stem—this isn’t the long, sprawling vine but the tiny, curly one right next to where the fruit attaches.
When this tendril turns brown and crispy, it’s your cue that the melon is ready. Why does this work? The tendril’s job is to supply nutrients to the fruit, and once it dries up, the melon has reached its sugar peak.
I’ve seen gardeners skip this step and end up with underripe watermelons because they relied solely on the thump test. For instance, in my own garden last summer, I had two melons that sounded hollow but still had green tendrils.
Cutting one open revealed a watery, bland interior—a classic case of premature harvesting. Always double-check with this test to avoid disappointment. If the tendril is still green, give it 2-3 more days of warmth and sun.
Now, let’s talk about the thump test, the most debated (and fun) method of all. To perform it, tap the melon’s blossom end (the flat side opposite the stem) with your knuckles. A deep, hollow sound (like a drum) means the seeds are mature and the flesh is sweet.
A dull thud? Back to the garden for another week. But here’s the catch: this test works best on melons over 10 pounds. Smaller varieties might not produce a clear sound, so combine it with the other two checks for accuracy.
To make the thump test even more reliable, try this pro trick: lift the melon slightly off the ground before tapping. This amplifies the sound and gives you a clearer reading.
I’ve also noticed that morning is the best time to perform this test because the melon’s moisture content is more consistent. Avoid testing after heavy rain or watering, as excess moisture can mute the sound and lead to false readings.
For example, if you watered your melons the day before, wait until the soil is slightly dry before thumping.
One final tip: don’t rely on just one test. Combine all three—rind color, tendril drying, and the thump test—for the most accurate results. For instance, a melon might pass the thump test but fail the tendril check, signaling it needs more time.
By cross-referencing these methods, you’ll minimize the risk of picking too early or too late. And remember, patience is key—watermelons ripen on their own timeline, and rushing the process can ruin your harvest.
Advanced ripeness indicators: beyond the basics
Once you've mastered the basic ripeness checks like rind color and tendril drying, it's time to uncover the hidden clues that separate good watermelons from exceptional ones. These advanced indicators often make the difference between a garden variety and a premium-quality fruit that rivals store-bought selections.
I’ve found that the ground spot—that creamy-yellow patch where the watermelon touches the soil—is one of the most reliable hidden signals. When this spot turns from white to a rich cream or buttery yellow, it’s a strong sign that the fruit is nearing peak ripeness.
Don’t overlook this subtle change, as it often appears just a day or two before the watermelon is ready to pick.
| Indicator | What to Look For | Ripeness Level |
|---|---|---|
| Ground Spot | Cream or yellowish patch | Nearly ripe |
| Stem Separation | Easily twists off with slight pressure | Fully ripe |
| Scent Analysis | Sweet, musky aroma near stem | Prime ripeness |
| Field Spot Color | Deep yellow or orange | Optimal sweetness |
Another pro tip I swear by is testing the stem separation. Gently try to twist the stem where it meets the fruit—if it snaps off cleanly with minimal resistance, your watermelon is ready to harvest.
This is especially useful for varieties like Charleston Gray, where the rind might not change color dramatically. Pair this with the ground spot check, and you’ll rarely miss the sweet spot.
For the ultimate test, trust your nose. A ripe watermelon emits a sweet, musky aroma near the stem—almost like a cross between honey and fresh-cut grass. If you catch that scent, it’s a sure sign the sugars have fully developed.
I’ve even used this trick to identify the ripest melons in my garden when other indicators were borderline.
Finally, pay attention to the field spot—the area where the watermelon rested on the ground. If it’s turned a deep yellow or orange, that’s your cue to harvest within 24 hours.
This color change is often linked to the breakdown of chlorophyll and the buildup of sugars, making it one of the most reliable ripeness markers for watermelons.
By combining these advanced indicators with the basic checks, you’ll consistently pick watermelons at their peak ripeness, ensuring maximum sweetness and flavor every time. The key is to observe these clues daily during the final weeks of the growing season—especially in hot, dry climates, where ripening happens faster.