
How To
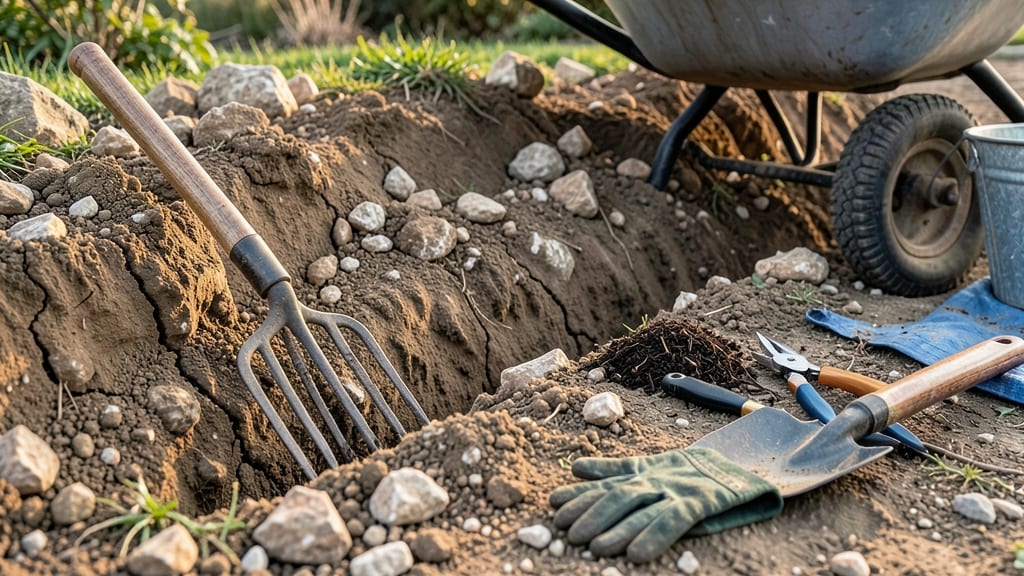
How to dig this rocky soil feels like gardening with concrete gloves. 🌱 I’ve wrestled with it for years—until I learned the right tools and techniques to break through the stubborn stones without wrecking my back (or my plants). The key isn’t brute force; it’s strategy. You’ll need a pickaxe for leverage, a mattock for precision, and a heavy-duty shovel that won’t bend. Pair them with soil conditioners like compost or sand to loosen what you can’t remove. Safety first: wear gloves, steel-toe boots, and—trust me—knee pads after the first hour. Start by marking a grid with stakes, then systematically chip away at the rocks. For every inch of progress, you’ll improve drainage and root space. The payoff? Plants that thrive where others give up—tomatoes with actual depth, herbs that don’t struggle, and a garden bed that finally behaves. If the rocks win, raised beds or containers are your backup. But with patience and the right tools, you’ll turn even the toughest ground into gardenable gold. Let’s get to work.
📚 In This Guide
- What you need
- Instructions
- Tips and common mistakes
- Wrapping up and next steps
What you need
- ● Heavy-duty shovel – A flat-edged, steel-head shovel (like a Fiskars or Corona) with a 16–18-inch blade for maximum leverage.
- ● Pickaxe or mattock – A 5–6 lb. pick for prying up rocks or a mattock (combo pick/axe) for versatility.
- ● Post-hole digger or digging bar – A 3–4 ft. steel bar (like a Fiskars digging bar) to loosen compacted soil and rocks.
- ● Wheelbarrow or heavy-duty bucket – A 3–5 cubic ft. wheelbarrow (or a 5-gallon bucket for smaller jobs) to haul debris.
- ● Gloves – Mechanic’s or heavy-duty gardening gloves (like Mechanix or Gorilla Grip) to protect your hands from sharp rocks and blisters.
- ● Knee pads or a small stool – For comfort during long digging sessions.
- ● Water hose or bucket of water – To dampen dry, hard-packed soil and reduce dust.
- ● Rock bar or pry bar – For stubborn, embedded rocks.
- ● Sledgehammer (3–5 lbs.) – If you encounter large, unmovable rocks.
- ● Soil conditioner (gypsum or compost) – To improve drainage and break up clay-heavy rocky soil.
- ● Safety glasses – To shield your eyes from flying debris.
- ● Ear protection – If using a power auger or jackhammer (for extreme cases).
Step-by-Step instructions for breaking through rocky soil
Here's the battle-tested method I use to transform stubborn, root-bound soil into workable ground—no matter how many rocks are in the way.
🪴 Step 1: Assess and Mark Your Work Area
Start by mapping the rock distribution. Use a garden flag or spray paint to mark a 3-foot square grid over your target area—this keeps you organized and prevents missed pockets of rocks. I kneel and run my hands over the soil first; larger rocks often create subtle mounds or depressions you can feel before you see them.
Note any buried obstacles like pipes or roots. If you hit something unexpected, stop immediately—rocky soil often hides old foundations or utility lines. A metal detector rental for a few hours can save you from costly mistakes (trust me, I've learned this the hard way).
✂️ Step 2: Choose the Right Tools for Each Rock Size
For smaller rocks (under 2 inches), a heavy-duty transplanting spade or digging bar works best. I wedge the spade vertically into the soil, then rock it side-to-side while pressing down—this breaks up the soil matrix without requiring brute force. For medium rocks (2-6 inches), switch to a pickaxe or rock bar; strike at the rock's edge to create a fracture line.
When you hit a large boulder (6+ inches), stop digging and reassess. These often require a sledgehammer or jackhammer rental. I mark the boulder's outline with spray paint, then drive the hammer into the painted lines to create a clean break. Never try to lift a boulder by hand—it's nearly impossible to judge their weight accurately.
💧 Step 3: Work in Layers with Strategic Watering
Dig down in 6-inch vertical layers, removing rocks and soil as you go. After each layer, water the exposed area with a hose on gentle spray—this softens the remaining soil and helps flush out fine rock particles. The water also lubricates your tools, reducing friction and making the next layer easier to break.
I collect removed rocks in a wheelbarrow, sorting them by size. Smaller rocks (<1 inch) can be crushed with a manual rock crusher or saved for pathways; larger ones get repurposed as garden borders or decorative elements. Never throw rocks back into the hole—this defeats the purpose and creates future headaches.
🌱 Step 4: Amend the Soil for Long-Term Workability
Once you've removed all visible rocks and reached your target depth (12-18 inches for most plants), mix in 3 inches of compost and 2 inches of coarse sand to improve drainage. I use a broadfork to aerate the soil before adding amendments—this prevents compaction from the heavy tools you've been using.
For clay-heavy rocky soil, incorporate 1 part peat moss to 3 parts existing soil to break up the clay's grip on remaining fine particles. Test the amended soil by squeezing a handful—it should crumble when dry and hold moisture without becoming waterlogged. This is your signal that the soil is now workable.
⏰ Step 5: Maintain and Monitor for Future Sessions
After planting, mulch with 3 inches of wood chips to suppress future weed growth and prevent new rocks from surfacing during seasonal shifts. I check the area every 6-8 weeks during the growing season, using a hand trowel to probe for any new rock fragments that may have shifted to the surface.
If you encounter persistent rock layers deeper than 18 inches, consider amending only the top 12 inches and planting deep-rooted species like black walnut or honey locust that can tolerate rocky subsoil. For vegetable gardens, raised beds are often the most practical solution—you control the soil entirely without battling nature's obstacles.
Tips & tricks for transforming stubborn rocky soil
These battle-tested strategies will help you tackle even the toughest rock-strewn ground without turning your project into a frustrating battle.
Layered Approach: The 6-inch vertical layer method in Step 3 works best when you alternate between digging and watering. After each 6-inch layer, let the water soak in for 5-10 minutes before continuing—this prevents the soil from drying out and becoming harder to work with. I've found that adding a drop of dish soap to your water bucket helps break surface tension, allowing water to penetrate more effectively through compacted layers.
Tool Rotation Strategy: Don't get stuck using just one tool for every rock size. After the initial assessment in Step 1, I keep a digging bar for the first 3 inches, then switch to a pickaxe for deeper layers. This rotation prevents tool fatigue and maintains precision. For especially stubborn areas, I'll switch to a rock bar—it's designed specifically to create clean fracture lines in hard materials.
Safety First: When dealing with large boulders in Step 2, always wear heavy-duty gloves and safety glasses. I've seen too many gardeners underestimate the force needed to break these rocks—even a small piece can cause serious injury. Position yourself at an angle to the rock when striking, not directly above it. This reduces the risk of the rock fragmenting unpredictably toward you.
Soil Amendment Timing: The 3 inches of compost and 2 inches of coarse sand in Step 4 should be mixed in after you've completely removed all visible rocks. I use a broadfork to aerate first because compacted soil won't absorb amendments properly. For clay-heavy soil, I'll often add the peat moss mixture in two stages—first mixing in 1 part to 4 parts soil, then waiting 24 hours before adding the final 1 part to 3 parts ratio.
Pro Tips for Dig Rocky Soil
- These battle-tested strategies will help you tackle even the toughest rock-strewn ground without turning your project...
- Layered Approach: The 6-inch vertical layer method in Step 3 works best when you alternate between digging and wateri...
- Tool Rotation Strategy: Don't get stuck using just one tool for every rock size. After the initial assessment in Step...
Frequently asked questions
What’s the best tool for breaking up large rocks in rocky soil?
For big rocks, a pickaxe or rock bar is your best bet. Smaller rocks? A digging bar or mattock works well. If rocks are embedded deep, rent a post-hole digger or auger for efficiency. Always wear gloves and safety glasses—sharp edges don’t warn before they bite!
Is there a best time of year to dig rocky soil?
Timing matters! Dig when the soil is slightly moist but not soggy—usually after a light rain or in early spring/fall. Avoid winter (frozen ground) or peak summer (hard, dry soil). Pro tip: Morning digs often yield softer soil since overnight moisture lingers longer.
Can I dig rocky soil without heavy machinery or expensive tools?
Start with a shovel, pry bar, and hammer. For stubborn rocks, wrap the shovel blade in a towel or rubber mat to protect your hands. Rent tools like a jackhammer (for extreme cases) or borrow from neighbors. Patience and elbow grease go a long way!
How do I avoid damaging roots or underground utilities when digging?
Always call 811 (USA) or your local utility locator 48–72 hours before digging to mark buried lines. Use a probe or augur to test depth before breaking ground. For roots, pry gently with a flat shovel—never force it. If roots are thick, consider planting around them or using root barriers.
Will digging rocky soil improve my garden long-term?
Yes, but it’s a gradual process. Breaking up rocks aerates the soil**, improves drainage, and makes future digging easier. Mix in compost or sand to loosen the remaining soil. Over time, your garden will reward you with healthier plants and fewer rocks—just keep chipping away!
Wrapping up and next steps
Digging through rocky soil can feel like a challenge, but with the right tools, techniques, and persistence, you’ll turn even the toughest ground into fertile land. Remember: patience and preparation are your best allies—whether you’re clearing space for a garden, a foundation, or a new project.
Start small, test your methods, and soon you’ll be tackling those rocks like a pro!
Now that you’re armed with knowledge, grab your gear and get digging! 🌱 Next, check out our guide on maintaining your tools or explore post-digging soil prep to keep your project thriving.