
Tools
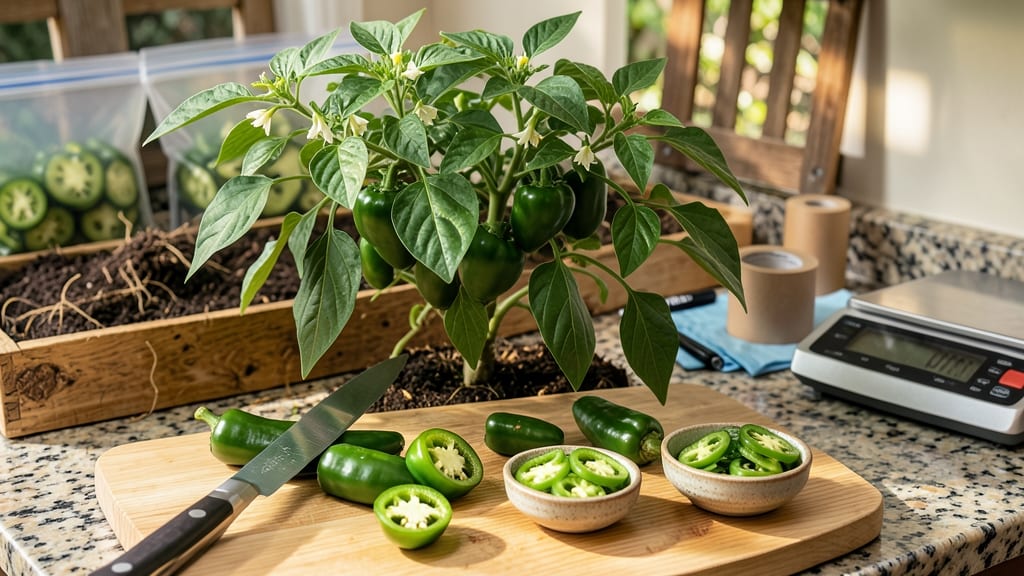
Freezing jalapeños from my garden saves summer's fiery flavor for winter salsa. 🌶️ I used to toss them when they turned soft, but now I freeze them whole, sliced, or in oil—keeping that crisp snap and bold heat for months.
The secret? Quick prep and proper freezing methods that lock in texture and taste.
Start by washing them gently, then peel and deseed if you prefer milder heat. Slice them thin for quick cooking later or leave them whole for stuffed peppers. For extra crunch, blanch whole peppers for 2 minutes before freezing—this trick keeps them firm like fresh-picked.
You’ll end up with jalapeños that taste like summer, even in January. Pack them in airtight containers or freezer bags, squeezing out excess air to prevent freezer burn. Label everything with the date—these stay good for up to a year if stored right.
Pro tip: Freeze sliced peppers in a single layer first to avoid clumping, then transfer to bags. And always thaw in the fridge, never on the counter—that’s how you keep the flavor and texture intact. Ready to stock your freezer with garden heat?
📚 In This Guide
- What you need
- Instructions
- Tips and common mistakes
- Wrapping up and next steps
What you need
- ● Fresh jalapeños: Harvest ripe but firm peppers (avoid overripe or soft ones). Aim for about 2–3 pounds (adjust based on your needs).
- ● Sharp knife or kitchen shears: For precise cutting—serrated or chef’s knives work best.
- ● Cutting board: A large, stable board (preferably plastic or wood) to avoid slipping.
- ○ Blender or food processor (optional for salsa or sauce): If you plan to blend your peppers, a high-powered blender handles seeds and skins best.
- ● Freezer-safe bags or containers: Quart-sized freezer bags (for whole or sliced peppers, 2–4 bags depending on quantity).
- ○ Vacuum sealer (optional but highly recommended for long-term storage—extends shelf life to 12+ months).
- ● Paper towels or clean kitchen towel: For patting peppers dry to prevent ice crystals.
- ● Measuring spoons or scale: If you’re prepping jalapeños for specific recipes (e.g., 1 tsp = ~1 sliced pepper).
- ○ Parchment paper or silicone mat: For flash-freezing sliced peppers (optional but prevents sticking).
- ● Citric acid or lemon juice: A pinch (½ tsp per quart) in the bagging liquid to preserve color and prevent browning.
- ● Olive oil or cooking oil: 1–2 tbsp per bag if freezing for cooking (helps retain texture).
- ● Salt: ½ tsp per quart for flavor (add after thawing to avoid drawing out moisture).
- ● Labeling markers or sticky labels: To note date, spice level (mild/hot), and contents (e.g., "Sliced Jalapeños + Oil").
- ● Glove or tongs: For handling hot peppers safely (especially if you’re sensitive to capsaicin!).
Step-by-Step instructions for freezing jalapeños from your garden
Here's how I preserve my garden's fiery harvest so you can enjoy that perfect crunch all winter long.
🌱 Step 1: Harvest and Prepare Jalapeños for Freezing
Pick fully mature jalapeños that are firm but slightly soft to the touch—these will have the best flavor. Rinse them gently under cool water to remove any dirt or debris, then pat them completely dry with a clean kitchen towel. Any moisture left on the peppers will create ice crystals during freezing, which ruins texture.
This is the moment that matters: leave the stems intact for now. The stem keeps the pepper's shape during freezing, preventing that dreaded mushy texture. I like to use a sharp knife to make a small slit on one side of each pepper—about 1/4 inch long. This helps steam escape during blanching and speeds up the process.
💧 Step 2: Blanch for Perfect Texture
Fill a large pot with 2-3 inches of water and bring it to a rolling boil. While waiting, prepare an ice bath in a separate bowl or sink filled with cold water and ice cubes. Once boiling, carefully add the jalapeños in a single layer—overcrowding will make them steam instead of blanch properly.
Blanch the peppers for exactly 2-3 minutes until they turn a brighter green but are still firm to the touch. You'll know they're ready when they float to the surface—this means they've softened just enough. Immediately transfer them to the ice bath using a slotted spoon and let them cool for 2-3 minutes until completely chilled.
✂️ Step 3: Dry and Package for Freezing
Remove the blanched jalapeños from the ice bath and pat them completely dry again. This second drying is crucial—any remaining moisture will turn to ice and destroy texture. I like to spread them on a clean kitchen towel in a single layer and let them air-dry for 10-15 minutes while I prepare the freezer bags.
Use the quart-sized freezer bags you've set aside. Place the dried jalapeños in a single layer inside the bag, leaving about 1 inch of space at the top. Seal the bag, then lay it flat on a cutting board. Using a rolling pin or your palm, gently press out as much air as possible before sealing completely. Label each bag with the date and contents—trust me, you'll forget by next summer!
⏰ Step 4: Freeze for Long-Term Storage
Place the sealed bags in the freezer, laying them flat again to maximize space and prevent crushing. For best results, freeze them on the middle rack where temperatures stay most consistent. The peppers will be ready to use within 24 hours, but they'll keep their quality for up to 12 months.
Here's the thing—when you're ready to use them, there's no need to thaw. Simply remove as many peppers as you need from the bag and use them directly in your recipes. They'll maintain that perfect crunch you're after, unlike fresh peppers that turn mushy after freezing and thawing.
Tips & tricks for perfectly crispy frozen jalapeños
Here's what I learned after preserving dozens of batches—these little tricks make all the difference between mushy freezer peppers and that perfect crunch you remember from summer.
Selection Tip: The ripeness of your jalapeños makes a huge difference! Look for peppers that are firm but just starting to soften slightly—they'll have the best flavor and texture after freezing. Avoid peppers with soft spots or wrinkles, as they'll turn mushy no matter what you do. In Step 1, that quick rinse might seem obvious, but I've seen people skip it—don't! Any dirt or debris can harbor bacteria and affect texture during freezing.
Blanching Secret: Those exact 2-3 minutes of blanching are critical for texture. You want the peppers bright green but still firm—they should float when ready. I've ruined batches by either under-blanching (peppers stay too tough) or over-blanching (they turn mushy). Pro tip: Use a slotted spoon to transfer them immediately to the ice bath—every second counts! The ice bath's 2-3 minutes is just as important as the blanching time, so don't rush this step either.
Packaging Wisdom: The single layer in quart-sized freezer bags is non-negotiable for crispy results. When you press out the air in Step 3, get creative—roll a rolling pin over the bag or press firmly with your palm. I've seen people use ziplock bags, but they don't seal as well and can develop freezer burn. Labeling with dates is crucial because jalapeños lose their best texture after about 9 months, even though they'll stay safe for 12 months.
Freezer Placement: The middle rack is your friend for consistent freezing. I've learned this the hard way—peppers frozen on the top shelf can develop freezer burn faster, while those on the bottom might not freeze as quickly. Once frozen solid (after those 24 hours), you can rearrange your freezer space as needed, but keep them flat until completely frozen to prevent crushing.
Pro Tips for Freeze Jalapenos From My Garden
- Here's what I learned after preserving dozens of batches—these little tricks make all the difference between mushy freezer peppers and that perfect crunch you remember from summer.
- Selection Tip: The ripeness of your jalapeños makes a huge difference!
- Blanching Secret: Those exact 2-3 minutes of blanching are critical for texture.
Frequently asked questions
Got questions about freezing your homegrown jalapeños?
You’re not alone! Here are the most common concerns—and quick, practical answers to keep your peppers perfect for months.
Can I freeze jalapeños whole, or do I need to chop them first?
For best results, chop or slice your jalapeños before freezing. Whole peppers may develop freezer burn or lose texture. If you prefer whole jalapeños, blanch them first (30–60 seconds in boiling water) to preserve crispness. Just remember: thawed peppers won’t be as crisp as fresh!
How long do frozen jalapeños last, and can I refreeze them?
Properly stored, frozen jalapeños stay safe for 10–12 months in a deep freezer (0°F or below). Never refreeze thawed peppers—they’ll turn mushy and lose flavor. If you only use part of a batch, freeze in portion-sized bags to avoid waste!
Will freezing make jalapeños less spicy?
Freezing doesn’t reduce spice, but it can slightly soften the texture, making heat distribution more even. If you’re worried about intensity, remove seeds/membranes before freezing. For milder peppers, roast them first—they’ll mellow out while retaining flavor!
Can I freeze jalapeños without blanching?
Yes! While blanching helps preserve color and texture, you can freeze raw jalapeños if you slice them thinly and pat them very dry first. Raw peppers may darken over time, but they’ll still work great in cooked dishes like salsas or stews. For best results, use within 6 months.
What’s the best way to thaw frozen jalapeños?
Thaw peppers in the fridge overnight (safest method) or use them frozen straight in recipes like soups or chili. Avoid microwaving—it can make them soggy. If you’re in a hurry, run the sealed bag under cool water for 5–10 minutes, but drain well to prevent dilution in dishes.
Can I freeze jalapeño seeds for later use?
Yes! Save seeds by drying them completely on a paper towel, then store in an airtight container at room temperature. For freezing, mix seeds with a little cornstarch to prevent clumping. Note: Frozen seeds may lose viability over time—best for short-term storage (up to 6 months).
Still stumped?
Drop your question in the comments—we’ve got your back!
Wrapping up and next steps
Freezing your homegrown jalapeños is a game-changer—it locks in that garden-fresh heat and flavor so you can enjoy it all year long! Whether you’re prepping for salsa, chili, or snacks, this simple method ensures your peppers stay crisp, vibrant, and spicy whenever you need them.
Now that you’ve mastered the technique, why not experiment? Try freezing them whole, sliced, or even pickled for different cooking adventures. Grab those peppers and get preserving—your future meals will thank you! 🌶️❄️