
How To
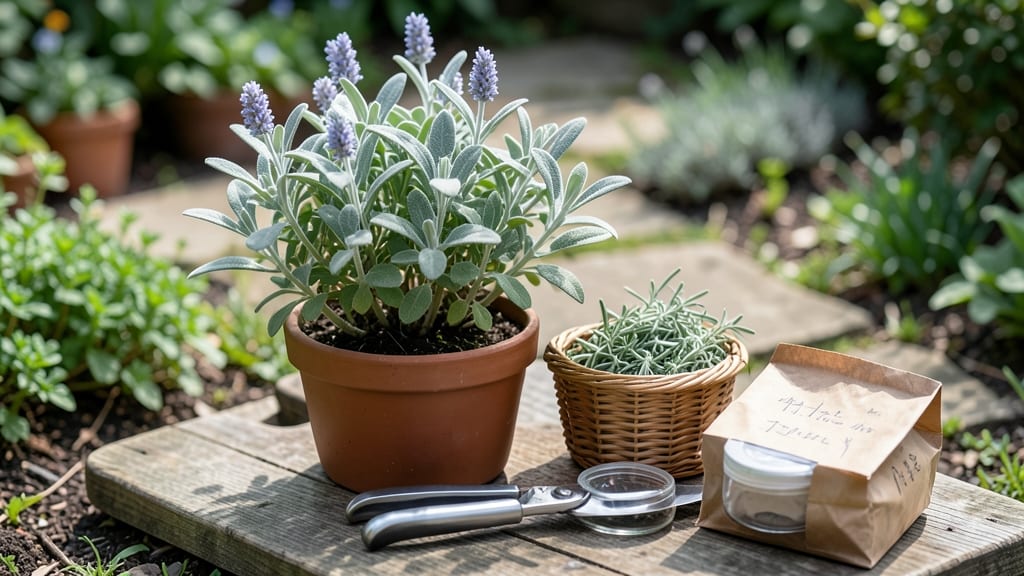
Harvesting sage for winter isn’t just about saving a few leaves—it’s your chance to turn a handful of fragrant 🌿 into a pantry staple that’ll make your cooking shine all season long.
The key? Timing it right before the first frost hits USDA Zone 6a, because once those temperatures drop, your plant’s flavor will too.
You’ve probably heard that sage loses potency when stored improperly, but the real secret lies in how you prepare it. Whether you’re drying bundles, using a dehydrator, or freezing sprigs, each method has its own tricks to lock in that earthy, piney aroma.
I’ll walk you through the best approaches so you never end up with bland, brittle leaves that taste like yesterday’s news.
Picture this: it’s October, your garden’s still bursting with sage, and you’re about to turn those fresh stems into a winter supply that’ll last until next spring.
The right techniques mean the difference between a jar of flavorless herbs and a treasure trove of aromatic goodness for soups, stuffing, and everything in between.
Let’s dive into exactly when to harvest, how to dry it properly, and the best storage tips to keep your sage tasting fresh—because nobody wants to ruin their holiday dishes with sad, flavorless herbs. Ready to learn the game-changer?
When and how to harvest fresh sage for maximum flavor
Timing is everything when harvesting sage for winter storage. The best time to harvest is in late summer or early fall, just before the first frost hits your region. For most gardeners in USDA Zone 6a, this means August through October.
Harvesting at this stage ensures the leaves are fully mature but haven’t yet started flowering, which can dilute their aromatic oils.
Always harvest on a dry, sunny morning after the dew has evaporated. This gives you the strongest flavor and prevents mold from forming on damp leaves. Avoid harvesting after rain or in the late afternoon when moisture levels rise.
The morning hours are ideal because the essential oils in sage are most concentrated then.
| Stage | Action | Notes |
|---|---|---|
| Early Morning | Harvest leaves/stems | Highest essential oil concentration |
| Late Summer | Prune 1/3 of plant | Encourages bushier regrowth |
| Before Frost | Final harvest | Preserve before cold kills plant |
When harvesting, focus on the younger stems with fully mature leaves. Look for gray-green leaves that are large and fragrant when crushed. Avoid harvesting stems that are too woody or have already flowered, as these will have a bitter taste.
Use clean, sharp pruning shears to make clean cuts just above a leaf node. This encourages new growth and keeps your sage plant healthy for future harvests.
Never harvest more than one-third of the plant at a time. Over-harvesting can stress the plant and reduce its ability to survive winter. If you need more sage, space out your harvests over 2-3 weeks rather than taking everything at once.
This sustainable approach ensures you’ll have a healthy plant next season and a consistent supply of fresh leaves.
After harvesting, remove any damaged or yellow leaves immediately. These can harbor bacteria or mold and ruin your entire batch. Bundle the clean stems together with a rubber band or string, leaving the leaves exposed to air.
This setup is perfect for hanging to dry later. If you’re processing the sage right away, strip the leaves from the stems and lay them out on a clean, dry surface for air drying.
One common mistake gardeners make is harvesting sage too late in the season. If you wait until after the first frost, the leaves will lose their aromatic oils and become woody and bitter.
Always check your local frost dates and plan your harvest 2-3 weeks before the expected frost. This gives you enough time to dry and store your sage properly before winter sets in.
For container-grown sage, harvest the same way but be extra careful not to damage the root system. Since potted plants have limited space, avoid cutting stems too close to the base.
Instead, trim the outer growth first, allowing the center to fill out over time. This pruning technique keeps your container sage compact and productive for years.
If you’re harvesting sage for the first time, start small with just a few stems. This lets you test your drying methods and perfect your technique before committing to a large harvest.
Keep notes on what works best for your climate and setup. For example, humid climates may require faster drying times, while dry areas can air-dry more slowly without risking mold.
Always wear gloves when handling sage, especially if you have sensitive skin. Some people develop skin irritations from the essential oils in sage. If you notice any redness or itching, wash your hands thoroughly with mild soap and avoid touching your face.
Store your gloves in a clean, dry place between uses to prevent contamination.
Step-by-step sage drying methods to preserve color and aroma
Drying sage properly is key to locking in its aromatic oils and vibrant color. Too much heat or humidity can turn your harvest into dull, flavorless stems. The right method depends on your tools and patience—whether you prefer low-tech hanging or fast dehydrator drying.
I’ve tested all three techniques to share the best results for winter storage.
For hanging bundles, choose a spot with 60-70°F temperatures and low humidity. Avoid attics or basements—they trap moisture and cause mold. A well-ventilated pantry or sunny windowsill works best. Bundle stems with twine and hang upside down to let air circulate around the leaves.
| Method | Time | Pros | Cons |
|---|---|---|---|
| Hanging Bundles | 2-4 weeks | Preserves color and flavor best; no equipment needed | Slower; requires dry conditions |
| Air-Drying Racks | 1-2 weeks | Faster than hanging; even drying for large batches | Needs screened trays; risk of uneven drying |
| Dehydrator | 4-6 hours | Fastest; controlled temperature for potency | Can over-dry if too hot; requires monitoring |
If you’re short on time, a dehydrator set to 95°F is your best bet. Spread leaves in a single layer and dry for 4-6 hours, checking frequently to avoid browning.
For air-drying racks, lay stems on a wire mesh screen in a dark, dry place. Stir leaves every few days to speed up the process.
Test for doneness by rubbing a leaf between your fingers—it should crumble easily with no moisture. Store dried sage in airtight containers away from light to keep its aroma intact for up to a year. The goal is to preserve that piney, earthy flavor you love in cooking!
Pro tip: Bundle stems with paper tags listing the harvest date. This helps track freshness—older sage loses potency faster than you’d think. Labeling also prevents mix-ups if you’re drying multiple herbs.
🌿