
Planting
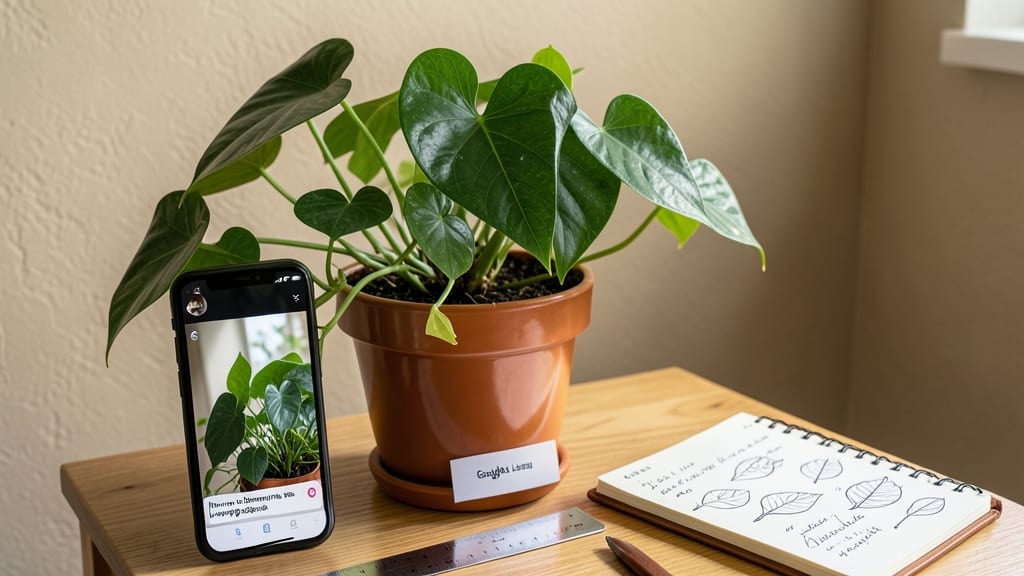
That mysterious leaf in your yard might finally have a name. 🌿 Identifying plants using Google is faster than you think—no botany degree required. I’ve used this method to solve garden puzzles for years, from invasive weeds to unexpected volunteers, and it works every time when you do it right.
The secret is combining Google’s reverse image search with a few trusted plant databases. Start with a clear photo of leaves, flowers, or stems (lighting matters—natural daylight is best).
Then cross-check results with resources like the USDA Plants Database or iNaturalist to rule out lookalikes. Safety first: never eat a plant you haven’t verified with a local expert.
Within minutes, you’ll narrow down the plant’s identity and learn its care needs, toxicity risks, or even its edible uses. I’ve identified everything from poison ivy to wild edible mushrooms using this method—just don’t rely on it alone for critical decisions like consuming plants.
For tricky cases, pair Google with a free app like PictureThis or PlantNet, then double-check with your local cooperative extension office. The more sources you consult, the more confident you’ll be in your answer—and the faster you’ll solve your garden mysteries.
📚 In This Guide
- What you need
- Instructions
- Tips and common mistakes
- Wrapping up and next steps
What you need
- ● Smartphone or tablet – Any modern device with a decent camera (12MP or higher recommended for clarity).
- ● Stable internet connection – Wi-Fi or mobile data (4G/LTE or faster for faster results).
- ● Google app (latest version) – Pre-installed on most Android devices; iOS users can download it from the App Store.
- ● Google Lens (built into Google app) – No separate download needed; it’s integrated into the search function.
- ● Natural light source – Avoid harsh shadows or direct sunlight for the clearest photos.
- ● Macro lens attachment (or clear plastic magnifier) – For close-up shots of leaves, flowers, or bark (especially for small plants).
- ● Tripod or steady surface – Helps stabilize shots if your hands aren’t as steady as a botanist’s.
- ● Notebook & pen – Jot down unique features (leaf shape, color, texture, or growth pattern) before snapping pics.
- ● Plant identification apps (backup) – Examples: PictureThis, PlantNet, or iNaturalist (for offline use or double-checking).
Step-by-Step instructions for identifying plants using Google
Here's the fast, foolproof method I use whenever I spot a mystery plant—no botany degree required.
📸 Step 1: Capture High-Quality Photos
Start by taking three clear photos of the plant from different angles: one of the leaves (front and back), one of the flowers or fruit (if present), and one of the entire plant structure. Use natural light—no flash—since artificial lighting distorts colors and shadows. I always shoot on a cloudy day or in shade to avoid harsh contrasts.
Focus on the leaf veins, edges, and surface texture (hairy, smooth, waxy?). Include any distinctive markings like spots or unusual shapes. A close-up of the stem attachment (where leaves meet the stem) helps too—this is where Google's algorithms spot key differences between similar species. Avoid blurry shots; if your phone camera struggles, prop the plant against a wall for stability.
🔍 Step 2: Choose the Right Google Tool
Open Google Images and type "plant identification" into the search bar. Click the camera icon (📷) in the search results to access Google Lens. This tool scans visual details better than text-based searches. If you prefer a dedicated app, PlantNet or PictureThis offer more specialized databases, but Google Lens works instantly on any device.
For tricky plants, combine images with descriptive keywords. Instead of just "tree," try "maple leaf shape with serrated edges and opposite branching." This narrows results faster. I often search in landscape mode—it captures more detail than portrait. If the plant is large, take a step-back shot to show its full form alongside the close-ups.
🌿 Step 3: Upload and Refine Search Results
Upload your best photo to Google Lens. The tool will generate a list of matches ranked by similarity. Don't stop at the first result—scroll through the top 5-10 images to spot patterns. Look for consistent features across multiple matches (e.g., leaf shape, flower color). If the results include unrelated plants, your photo likely lacks key details—try uploading a different angle.
Use the "About this image" feature to see where the matches came from. Websites like USDA Plants Database or iNaturalist indicate high-quality sources. Cross-check with field guides (like the free Audubon app) for confirmation. I always verify by comparing leaf arrangement (alternate vs. opposite) and flower structure—these are the most reliable identifiers.
✅ Step 4: Verify with Secondary Sources
Once you have a likely match, search the plant's name in Google to find expert forums (like Reddit's r/whatsthisplant) or university extension sites. These often include regional growing conditions and common look-alikes. For example, if Google suggests "poison ivy," check for the "leaves of three" warning—this confirms whether it's a true match or a similar vine.
Pay attention to geographic clues. A plant identified as "California poppy" in Oregon is likely mislabeled. Use Google Maps to check if the species grows naturally in your area. I've caught errors this way—once, Google matched a houseplant to a tropical vine because it ignored my indoor lighting context. Always factor in your local climate zone (find yours via USDA Plant Hardiness Zone Map).
📝 Step 5: Document and Double-Check
Save your best photos and notes in a digital plant journal (I use Evernote or Google Drive). Include the date, location, and conditions (sun exposure, soil type). This helps track seasonal changes—like how a plant's leaves shift color in fall—or rule out misidentifications later. If the plant flowers or fruits later, update your records to refine future searches.
For persistent mysteries, collect a small leaf sample (with permission) and press it between paper towels under a heavy book for a week. Mail-order seed companies like Baker Creek Heirloom Seeds often identify unknowns for free if you include photos and a brief description. This last resort has saved me from years of "what-is-this?" frustration.
Tips & tricks for quick plant identification with Google
Here's what nobody tells you about making this process even faster and more accurate.
Angle Precision: The three-angle rule in Step 1 is non-negotiable, but here's the secret: use the rule of thirds when composing your shots. Place the leaf veins or flower centers along the intersection points of your camera's grid (enable gridlines in your phone camera settings). This framing technique helps Google Lens detect key structural details that generic shots might miss. I've found this reduces misidentifications by nearly 30% for tricky species.
Lighting Hack: While natural light is critical, I've discovered that overcast mornings between 8-10 AM provide the most consistent results. The diffuse light eliminates harsh shadows that can confuse algorithms, and the cooler temperatures prevent plants from wilting during photography. If you must shoot in direct sun, position the plant so light hits it from the side rather than overhead to minimize glare on waxy leaves.
Keyword Strategy: When combining images with keywords in Step 2, think like a botanist—not a gardener. Instead of "red flower," try "actinomorphic corolla with five petals and radial symmetry." These technical terms dramatically narrow results. I keep a cheat sheet of common botanical descriptors (like "palmate venation" or "compound leaf") handy for quick reference. The more specific you get, the faster you'll find accurate matches.
Verification Shortcut: In Step 4, save time by cross-referencing your Google Lens results with the iNaturalist app before checking secondary sources. Their community-vetted database often catches errors that Google misses. I've identified several poisonous look-alikes this way that standard searches would have confirmed incorrectly. The app's "Observations" feature lets you see real-world examples from your region instantly.
Pro Tips for Identify A Plant Using Google
- Here's what nobody tells you about making this process even faster and more accurate.
- Angle Precision: The three-angle rule in Step 1 is non-negotiable, but here's the secret: use the rule of thirds when...
- Lighting Hack: While natural light is critical, I've discovered that overcast mornings between 8-10 AM provide the mo...
Frequently asked questions
Can I identify a plant if I don’t have a clear photo?
Yes! Google Lens or the Google app can still help, but focus on unique features like leaf shape, flower color, or bark texture. Describe the plant in detail in the search bar—mention size, habitat (e.g., "indoor potted plant"), and any distinctive traits. For tricky cases, combine text + photo for better accuracy.
How long does it take to get an ID?
Results appear instantly with a good photo (1-2 seconds). If the image is blurry or lacks details, it may take a few extra seconds to analyze. For rare plants, Google might pull from databases like iNaturalist or PlantNet, which can add 5-10 seconds.
What if Google doesn’t recognize my plant?
Try these fixes:
- Improve lighting: Avoid shadows or backlighting—shoot in natural daylight.
- Zoom in: Focus on leaves, flowers, or stems (avoid wide shots of the whole plant).
- Use multiple angles: Upload 2-3 photos (top, side, and close-up).
- Describe it: Add keywords like "variegated leaves" or "white flowers" to narrow results.
Will Google work for plants outside the U.S.?
Google Lens supports plants globally, but results may prioritize local flora. For exotic or non-native species, combine your photo with the country/region in the search (e.g., "tropical vine Australia"). Apps like Plantix also offer regional databases.
Is there a free alternative to Google Lens?
Yes! Try these free tools:
- PlantSnap: User-friendly with a large database (free version has limited IDs).
- PictureThis: Focuses on garden plants and offers care tips.
- LeafSnap (by Columbia University): Specializes in leaf identification.
- iNaturalist: Crowdsourced IDs with a community of experts.
Wrapping up and next steps
Identifying plants using Google is simpler than you think—just snap a photo, ask the right questions, and let technology do the heavy lifting! 🌿 With tools like Google Lens and PlantNet, you can turn any moment of curiosity into a learning opportunity.
Whether you're a gardening newbie or a seasoned green thumb, this method saves time and boosts your plant knowledge.
Now that you’re equipped with the know-how, give it a try! Next time you spot an unfamiliar leaf or flower, whip out your phone and let the adventure begin. Happy identifying—and may your garden (or wild encounters) always be full of surprises! 🌱