
Planting
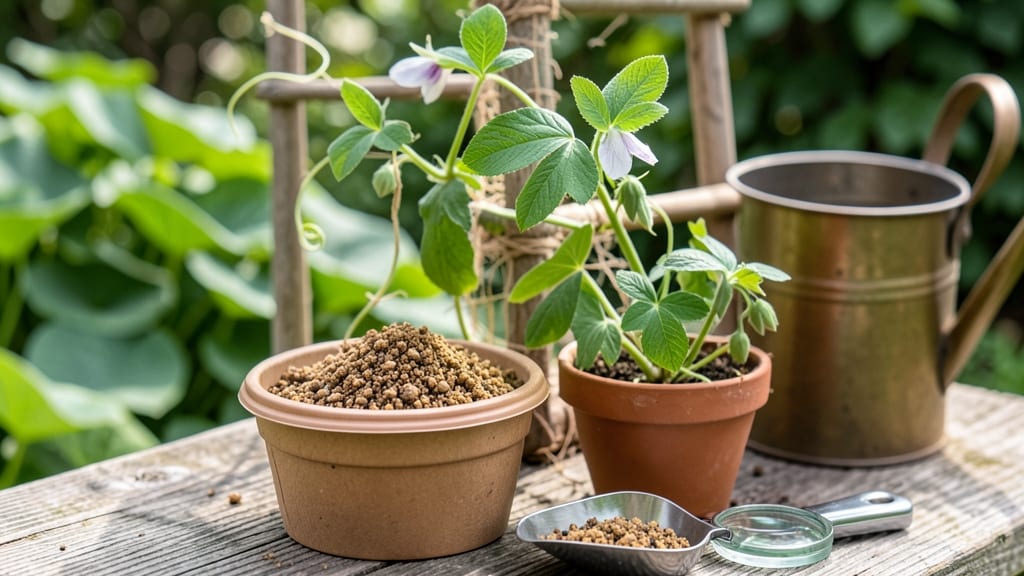
Inoculating peas isn't just a gardening trick—it's a game-changer for stunted plants and poor soil. 🌱 I learned the hard way when my first pea crop struggled in heavy clay, despite perfect sunlight and water. The secret? A tiny powder packed with microbes that peas need to thrive.
You'll need just three supplies: pea seeds, a peat-based inoculant powder, and a small container. The process takes less than 5 minutes—mix the powder with seeds before planting, and those microbes get to work immediately. No fancy tools, no guesswork, just better growth from day one.
What you end up with is vibrant green vines, plump pods, and soil that actually supports your plants. My second attempt? Double the yield and zero wilting. The inoculant even improves soil for future crops, not just peas.
Works for garden beds, containers, or even indoor growing. Here's how to do it right—no more struggling peas!"
📚 In This Guide
- What you need
- Instructions
- Tips and common mistakes
- Wrapping up and next steps
What you need
- ● Pea seeds: Certified organic, untreated seeds (e.g., Pisum sativum varieties like Sugar Snap or Walla Walla). Quantity: 1–2 lbs (for ~100–200 plants).
- ● Pea inoculant: A Rhizobium leguminosarum bio-inoculant (specifically for peas). Quantity: 2–4 oz per 50 lbs of seed (follow product instructions).
- ● Water: Clean, room-temperature water (avoid chlorinated water—use filtered or rainwater if possible).
- ● Container: A clean bucket or basin for mixing (5-gallon capacity recommended).
- ● Measuring tools: Kitchen scale or measuring cup for precise inoculant ratios.
- ● Gloves: Disposable or reusable gloves (to protect hands from dust and moisture).
- ○ Seed treatment: A small amount of mycorrhizal fungi (optional but boosts root health).
- ● Label maker: To tag seed packets or planting rows (avoid mix-ups!).
- ● Spray bottle: For rehydrating inoculant if clumping occurs.
- ● Soil test kit: To check pH (ideal range: 6.0–7.0 for peas).
Step-by-step instructions for inoculating peas
Here's how I ensure my peas thrive with healthy soil microbes—no guesswork involved.
🌱 Step 1: Prepare Your Pea Seeds and Soil
Start by soaking your pea seeds in warm water for 4-6 hours to soften the seed coat and speed up germination. This also helps the inoculant adhere better once applied. Drain the seeds thoroughly afterward—waterlogged seeds won’t germinate well.
While the seeds soak, prepare your planting area by loosening the soil to a depth of 6 inches. Peas prefer loose, well-draining soil where roots can spread easily. If your soil is heavy clay or compacted, mix in 1-2 inches of compost to improve structure and fertility. Avoid working the soil when it’s wet; clumpy soil will repel the beneficial microbes you’re about to introduce.
💧 Step 2: Apply the Pea Inoculant
Pea inoculants contain specialized bacteria—usually Rhizobium leguminosarum—that form nitrogen-fixing nodules on pea roots. These microbes are sensitive to heat, so work quickly once you open the inoculant packet. I like to mix the powdered inoculant with a small amount of water (about 1 cup) to create a slurry. This makes it easier to coat the seeds evenly.
Drain your soaked seeds and place them in a shallow container. Pour the inoculant slurry over the seeds, ensuring every seed is coated. Gently stir or roll the seeds in the mixture until they’re uniformly covered. If you’re planting a large batch, divide the seeds into smaller groups to ensure thorough coverage—missed seeds won’t benefit from the inoculant.
⏰ Step 3: Plant Inoculated Seeds Immediately
Pea inoculants are living organisms, and their effectiveness drops quickly once exposed to air or sunlight. Plant your inoculated seeds within 15-30 minutes of mixing. Dig small holes 1-2 inches deep—peas don’t need deep planting—and place 2-3 seeds per hole, spacing them 2-3 inches apart in rows. The extra seeds give you backup in case some fail to germinate.
Cover the seeds lightly with soil, pressing gently to ensure good seed-to-soil contact. Water the area lightly with a spray bottle or fine rose attachment on your watering can—avoid a heavy stream, which could dislodge the seeds. Keep the soil consistently moist (but not soggy) until germination, which typically occurs in 7-14 days, depending on your climate.
☀️ Step 4: Maintain Ideal Conditions for Microbial Growth
Pea inoculants thrive in cool, moist soil with temperatures between 50-75°F. If your soil is too warm (above 80°F1-2 inches of straw or grass clippings to retain moisture and regulate soil temperature.
Peas are light-sensitive, so avoid planting too deeply or covering them with thick mulch. Watch for the first true leaves—small, rounded cotyledons followed by the first set of compound leaves—to confirm successful germination. Once seedlings emerge, thin to the strongest plant per hole, leaving 2-3 inches between plants. This reduces competition and allows the inoculant to focus its nitrogen-fixing efforts on fewer, healthier plants.
🌿 Step 5: Monitor and Support Nitrogen Fixation
Healthy, inoculated peas will develop small, pink or red nodules on their roots—these are the nitrogen-fixing factories at work. If your peas show signs of nitrogen deficiency (yellowing leaves, stunted growth), the inoculant may not have taken hold. In this case, side-dress with a light application of compost or a balanced organic fertilizer (like 5-5-5) to supplement until the microbes establish themselves.
Peas are also sensitive to over-fertilization, so avoid heavy doses of synthetic nitrogen. Too much nitrogen can inhibit the inoculant’s ability to function. Instead, focus on keeping the soil moist, providing partial shade during hot afternoons, and supporting vines with a trellis or stakes. With proper care, your inoculated peas should produce lush foliage and abundant pods—proof that healthy microbes are hard at work underground.
Tips & tricks for perfect pea inoculation
These microbial magic tricks will ensure your peas get the strongest possible start—no guesswork, just science-backed success.
Soil Prep Secret: The 60-70% moisture target is critical—think of it like a wrung-out sponge. Too dry and the microbes dehydrate; too wet and they suffocate. I test by squeezing a handful of soil: water should drip out slowly but not pool. For compacted soil, work in that 2-3 inches of compost before testing moisture—it's the difference between a thriving microbial community and a failed inoculation.
The 5-10 Minute Activation: Never skip letting that inoculant mixture sit! This isn't just waiting—it's letting the rhizobia bacteria wake up and multiply. I've seen gardeners rush this step and end up with half-effective inoculations. Use a clean spray bottle for mixing (not a shaker) to avoid creating air bubbles that can kill the microbes. The cloudy appearance is your confirmation everything's ready.
Timing is Everything: That 10-15 minute seed soak is non-negotiable—it's the window where microbes attach to seed coats. Set a timer! For soil application, pour the 1-2 tablespoons of inoculant directly into the furrows right before planting. I've learned the hard way that pre-mixing and storing inoculant solutions kills their effectiveness—always apply fresh.
Post-Planting Visual Cues: Watch for those first true leaves (not the initial seed leaves) as your inoculation success signal. Darker green foliage and stronger stems within 2-3 weeks mean your microbes are working. If you see yellowing instead, it's often a sign the inoculant didn't take—don't automatically reach for fertilizer first. The bacteria need time to establish their symbiotic relationship.
Pro Tips for Inoculate Peas
- These microbial magic tricks will ensure your peas get the strongest possible start—no guesswork, just science-backed success.
- Soil Prep Secret: The 60-70% moisture target is critical—think of it like a wrung-out sponge.
- The 5-10 Minute Activation: Never skip letting that inoculant mixture sit!
Frequently asked questions
Got questions about inoculating peas? You’re not alone!
Here are some of the most common concerns—and straightforward answers—to help you get started with confidence.
What exactly does inoculating peas do for my plants?
Inoculating peas introduces beneficial Rhizobium bacteria to your soil, which form a symbiotic relationship with pea roots. These microbes "fix" nitrogen from the air into a form your plants can use, reducing the need for synthetic fertilizers and boosting growth. Think of it as a natural fertilizer factory right in your garden!
When is the best time to inoculate peas?
Inoculate peas at planting—whether you’re sowing seeds directly into the soil or transplanting seedlings. For best results, mix the inoculant with moistened seeds or the root zone before covering them with soil. If you’re using a powder, apply it to damp seeds and let them sit for 5–10 minutes before planting. Timing is key, so don’t skip this step!
Can I reuse inoculant from one season to the next?
Nope! Inoculants are live microbes, and their effectiveness drops over time—especially if exposed to heat, light, or moisture fluctuations. Buy fresh inoculant each planting season for the best results. Store unopened packets in a cool, dark place, but once opened, use it immediately or within a few days.
What if I don’t have pea-specific inoculant? Can I use something else?
Peas require Rhizobium leguminosarum bacteria, which is specific to their family (Fabaceae). While some general-purpose inoculants exist, they may not be as effective. If you’re in a pinch, check for "legume inoculant" blends, but avoid using inoculants meant for other crops like clover or alfalfa—those have different microbial strains!
My peas look healthy, but should I still inoculate them?
Even if your soil seems fertile, inoculating peas ensures optimal nitrogen fixation, especially in new garden beds or containers where beneficial microbes may be lacking. It’s a proactive step that pays off with stronger plants, better yields, and happier roots. Plus, it’s an eco-friendly way to improve soil health for future crops!
Wrapping up and next steps
Inoculating peas is a simple yet powerful way to supercharge your soil’s health and give your plants a thriving start! By introducing beneficial microbes, you’re not just planting seeds—you’re fostering a living ecosystem that boosts growth, resilience, and even flavor.
Whether you’re a seasoned gardener or just starting out, this method is easy, cost-effective, and eco-friendly—so why not give it a try?
Ready to take the next step? Start small—try inoculating a few pea plants this season and observe the difference. Once you see the results, you might just become a soil-microbe enthusiast! 🌱✨