
Blooming
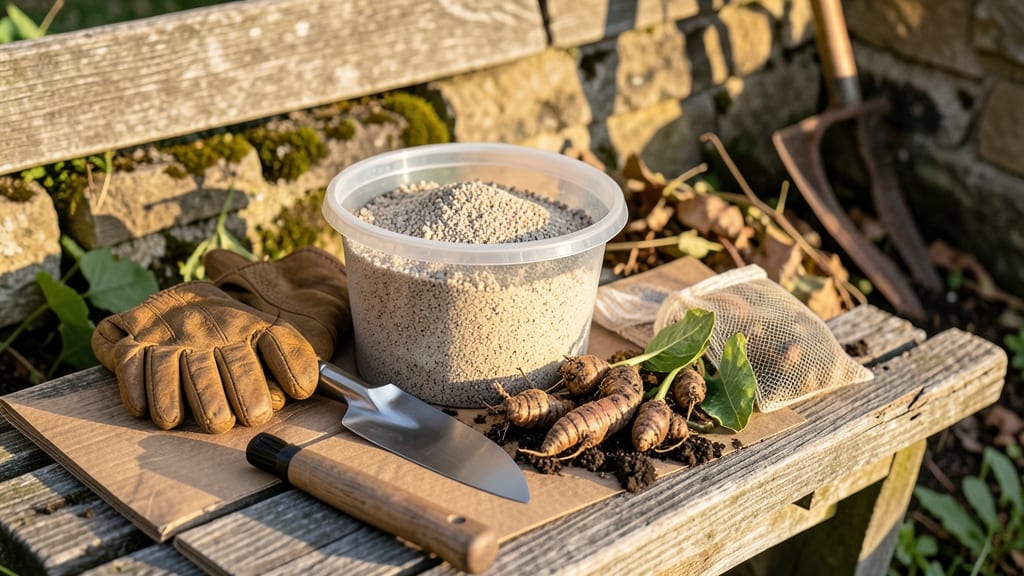
How to keep canna lilies over winter—it’s all about saving their tubers. ✨ Every winter, I dig up mine before the first freeze, and by spring, they're back to their dramatic, tropical blooms. The secret lies in timing, storage conditions, and avoiding two deadly mistakes: too much moisture and too much cold.
You'll need a sharp shovel, a dry storage space (like a garage or basement), and some newspaper or vermiculite to keep tubers from rotting. In warmer zones (8-10), you can mulch heavily instead of digging—but even then, watch for unexpected cold snaps.
Most gardeners in colder climates (zones 5-7) dig tubers when soil temps hit 50°F.
By spring, your tubers will sprout plump green shoots, ready to replant when soil warms to 60°F. The payoff? A garden that bursts into bold foliage and fiery blooms earlier than store-bought plants. Just don't let them dry out completely—keep them slightly damp but never soggy.
This method works whether you're in a frost-prone Midwest or a mild Southern winter. The key is consistency: same storage conditions, same timing, and you'll have cannas that outlast any neighbor's garden. Let's get those tubers tucked away safely!
📚 In This Guide
- What you need
- Instructions
- Tips and common mistakes
- Wrapping up and next steps
What you need
Before you dive into winterizing your canna lilies, gather these essentials to ensure your tubers stay cozy and ready to bloom again! Whether you're a seasoned gardener or a first-timer, having the right tools and materials makes all the difference. Here’s your
Step-by-Step instructions for overwintering canna lily tubers
Here’s how I’ve kept my cannas thriving year after year—no frost damage, no lost blooms.
🌱 Step 1: Cut Back Foliage and Dig Up Tubers
Wait until the first hard frost blackens the leaves—this signals the plant has redirected energy to the tubers. Using a fork or trowel, carefully lift the entire plant from the ground, shaking off excess soil. The tubers will be plump and firm, with roots attached.
Trim the stems down to about 2 inches above the tuber using clean pruners. This prevents rot during storage. I like to soak the tubers in a 10% bleach solution for 10 minutes to kill any fungal spores lurking in the soil—this step has saved my cannas from moldy surprises in past winters.
🪴 Step 2: Cure and Prepare for Storage
Let the tubers air-dry in a warm, shaded spot for 3-5 days. You’ll know they’re ready when the skin feels slightly tougher and no longer sticks to your fingers. This curing process hardens the tubers, making them more resilient during dormancy.
Once dry, store them in a cardboard box or paper bag with a handful of dry peat moss or vermiculite (about 1 inch deep) to absorb any moisture. I label each tuber with a marker—variety names fade fast, and you’ll forget which one is which by spring!
⏰ Step 3: Store in a Cool, Dark Place
Place the box in a location with temperatures between 45-55°F. A garage, basement, or even a cool closet works—just avoid refrigerators with high humidity or temperature fluctuations. The key is consistency; cannas hate sudden cold snaps.
Check the tubers monthly for soft spots or mold. If you find any, toss those tubers immediately and adjust storage conditions. A small fan on low setting can help prevent moisture buildup without drying them out.
☀️ Step 4: Wake Up Tubers in Early Spring
About 6-8 weeks before your last frost date, move the tubers to a brighter, slightly warmer spot (around 60-65°F). You’ll see tiny buds forming within 2-3 weeks—that’s your cue to start prepping for planting.
Before planting, soak the tubers in lukewarm water for 1-2 hours to rehydrate them gently. This jumpstarts growth and helps them establish roots faster. I plant mine in well-draining soil after all frost risk has passed—cannas despise cold soil, so wait until the ground warms to at least 60°F.
Tips & tricks for overwintering canna lilies
These small adjustments make all the difference between tubers that survive winter and ones that rot in storage.
Timing Secret: Don't rush the curing process in Step 2! The full 10-14 days at 60-70°F is crucial—this mimics their natural dormancy cycle. I've seen tubers develop that papery skin much faster in warm conditions, but rushing can lead to premature drying or uneven curing. Place a small thermometer in your storage spot to monitor temperatures consistently.
Storage Wisdom: When moving tubers to cool storage in Step 3, I wrap each one individually in newspaper before placing them in the box. This extra layer prevents any accidental moisture transfer between tubers during those monthly checks. If you notice condensation forming inside your storage box, it's time to move to a drier location immediately—condensation is the #1 cause of tuber rot.
Spring Prep Strategy: For the gradual warming in Step 4, I recommend moving tubers indoors about 5 weeks before your last frost date (the 4-6 week window gives you flexibility). Place them near a south-facing window where they'll get gentle morning sun. You'll notice shoots emerge within 2-3 weeks, but don't be tempted to plant them too early—wait until those shoots reach 2-3 inches for best transplant success.
Pro Tips for Keep Canna Lilies Over Winter
- These small adjustments make all the difference between tubers that survive winter and ones that rot in storage.
- Timing Secret: Don't rush the curing process in Step 2!
- Storage Wisdom: When moving tubers to cool storage in Step 3, I wrap each one individually in newspaper before placing them in the box.
Frequently asked questions
Got questions about winterizing your canna lilies? You’re not alone!
Here are answers to the most common concerns—from timing to troubleshooting—so you can keep those tropical beauties thriving year after year.
When is the exact time to dig up canna lilies for winter?
Wait until the first hard frost (when temps dip below 30°F/-1°C) or after the foliage turns brown and dies back. In warmer climates (Zones 8-10), you can leave them in the ground with mulch. Pro tip: If unsure, dig up tubers 2-3 weeks before the first frost—better safe than sorry!
Can I store canna tubers in the fridge like potatoes?
Nope! Canna tubers need cool, dry, and dark conditions (like a basement or garage), not a fridge. Temperatures between 40–50°F (4–10°C) are ideal. Warning: Humidity or cold drafts can cause rot—wrap tubers in newspaper or store them in a breathable mesh bag.
What if my canna tubers sprout too early in storage?
If you spot green shoots before spring, it’s time to pot them up! Plant in a container with well-draining soil and place in a sunny window. Keep soil lightly moist (not soggy) and wait until after the last frost to transplant outdoors. Quick fix: A bright, cool spot can slow sprouting.
Are there any low-maintenance alternatives to digging up cannas?
Yes! If digging feels like a chore, try these hacks:
- Mulch heavily (6+ inches of straw or leaves) in Zones 7-10 to insulate roots.
- Plant in containers—move pots to a garage or shed before winter.
- Choose hardier varieties like Canna ‘Australia’, which tolerate milder cold.
My canna tubers smell moldy or are mushy—what went wrong?
This usually means too much moisture or rot during storage. Check for:
- Soggy soil (trim any mushy parts with a clean knife).
- Condensation in storage (improve airflow with a fan or open boxes).
- Old or damaged tubers (discard the bad ones to prevent spread).
Wrapping up and next steps
Keeping your canna lilies thriving through winter is all about timing, care, and a little patience! 🌱 By digging up tubers, drying them properly, and storing them in a cool, dry spot, you’ll set the stage for stunning blooms next season.
Don’t let winter slow you down—your garden’s future beauty is just a few simple steps away.
Now that you’re armed with the know-how, take action! Mark your calendar for late fall to start the process, and soon, you’ll be rewarded with vibrant canna lilies that’ll make your garden the talk of the neighborhood. Happy gardening! 🌸