
Shrubs
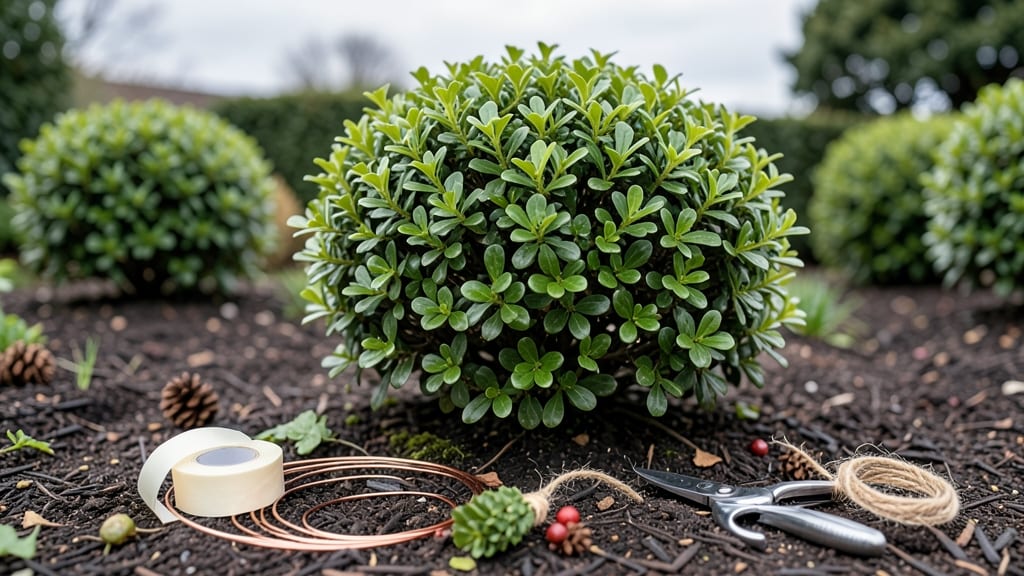
Boxwood wreaths bring timeless charm with just a few clippings and some wire. ✨ I’ve made dozens from my own shrubs—no fancy tools needed, just patience and a steady hand.
The best part? You’re using pruned branches that would otherwise go to waste, turning them into elegant decor that lasts for years.
Start with fresh or dried boxwood clippings (about 12-15 inches long) and a sturdy base frame—wire or grapevine works perfectly. Floral tape keeps everything secure, and a pair of sharp pruners ensures clean cuts.
The shaping process is surprisingly simple: bend, weave, and secure as you go, letting the natural shape guide you.
By the end, you’ll have a lush, evergreen wreath that feels like a hug for your porch or mantel. It’s perfect for holidays, weddings, or just adding greenery to your garden year-round.
The best wreaths come from sustainable sources—your own yard or local nurseries—so you’re not just decorating, you’re reducing waste.
Pro tip: Add berries, eucalyptus, or pinecones for extra texture, but keep it simple if you’re just starting. The beauty of boxwood is in its natural elegance—no overcomplicating needed. Let’s get crafting!
📚 In This Guide
- What you need
- Instructions
- Tips and common mistakes
- Wrapping up and next steps
What you need
- ● Boxwood shrubs: 6–8 medium-sized boxwood plants (4–6 inches tall, with flexible stems). Choose Buxus sempervirens (English boxwood) or Buxus microphylla (Dwarf boxwood) for durability.
- ● Floral wire: 22–24-gauge, 10–12 feet (for securing stems and shaping). Copper or green wire blends well with greenery.
- ● Wire cutters: Sharp, heavy-duty cutters to trim stems and wire cleanly.
- ● Wreath base: A pre-made grapevine, foam, or wire frame (12–18 inches in diameter). For a rustic look, opt for a grapevine base.
- ● Scissors: Pruning shears or sharp floral scissors for trimming boxwood.
- ○ Hot glue gun & glue sticks: (Optional but helpful) For extra stability when attaching boxwood to the base.
- ● Ribbon or bow: Satin, velvet, or jute ribbon (3–6 inches wide) for a finishing touch.
- ● Additional greenery: Eucalyptus, pine sprigs, or ivy for texture and depth.
- ● Ornamental accents: Miniature pinecones, berries, or dried flowers for a seasonal twist.
- ● Spray adhesive: For securing lightweight accents like berries or small decorations.
Step-by-Step instructions for crafting a boxwood wreath
Here's the straightforward method I use to create a lush, long-lasting wreath that looks like it came from a high-end nursery.
🌿 Step 1: Gather and Prepare Your Boxwood Branches
Start by selecting 4-6 healthy boxwood branches with flexible stems and plenty of small leaves. Look for branches that are about ½ to ¾ inch in diameter—thick enough to hold shape but still bendable. I like to choose branches with a mix of leaf densities so the wreath has natural texture.
Trim the ends at a 45-degree angle using sharp pruning shears to create clean cuts that won't splinter. This also helps the stems absorb water better later. Remove any yellowed or damaged leaves, as they’ll only detract from the finished look. Soak the trimmed branches in lukewarm water for 10-15 minutes to soften them slightly—this makes bending them much easier without breaking.
✂️ Step 2: Create the Wreath Base and Shape
Take a wire wreath frame (about 12-14 inches in diameter) and position it on a flat surface. Start by wrapping one end of a boxwood branch around the frame, securing it with floral wire every 2-3 inches to hold it in place. The wire should be tight enough to keep the branch snug but not so tight that it crushes the stem.
Work your way around the frame, adding branches in a spiral pattern to create a full, even layer. Leave small gaps between branches—this prevents the wreath from looking too dense and allows you to add finishing touches later. As you add each branch, gently bend it to follow the curve of the frame, using the wire to secure any kinks or bends. The goal is a smooth, circular shape that looks natural but structured.
🌱 Step 3: Layer and Secure the Greenery
Once the first layer is complete, add a second layer of smaller boxwood branches to fill in any gaps and create depth. These branches should be thinner (¼ to ½ inch in diameter) and placed closer together to mimic the look of a full, lush wreath. Secure each branch with floral wire, twisting it tightly around the stem and the underlying branches to keep everything in place.
Here’s the thing—don’t overcrowd. If the wreath starts to look too thick, trim back some of the smaller branches. You want it to look natural and airy, not like a solid wall of greenery. Once you’re satisfied with the coverage, trim any stray leaves or stems that stick out too far. This ensures a clean, polished finish that highlights the boxwood’s elegant shape.
💧 Step 4: Hydrate and Finish for Longevity
To keep your wreath fresh, trim the ends of all stems at a fresh angle and place them in a bucket of water for 24 hours. This step is critical—it rehydrates the branches and extends their life significantly. After soaking, drain the excess water and let the wreath dry slightly before handling.
For extra durability, spray the wreath lightly with a misting bottle every 2-3 days to keep the leaves vibrant. If you’re displaying it outdoors, choose a spot with partial shade to prevent the leaves from drying out too quickly. With proper care, your boxwood wreath can last 4-6 weeks, looking as fresh as the day you made it.
Tips & tricks for perfect boxwood wreath crafting
Here’s what nobody tells you about creating a showstopping boxwood wreath—these little details make all the difference between a good wreath and a stunning one.
Selection Tip: When choosing your 4-6 boxwood branches, look for stems that bend like willow branches rather than snapping like twigs. I’ve learned this the hard way—rigid stems break when you’re trying to shape them around the frame. Also, opt for branches with a mix of leaf densities: some areas should look lush, while others should have subtle gaps to create visual interest. Think of it like painting with foliage!
Wire Technique: The secret to a wreath that stays put lies in how you use the floral wire. In Step 2, wrap the wire around the branch stem twice before securing it to the frame—this creates a stronger anchor. For the spiral pattern, I like to start with the thickest branches first, working my way to thinner ones. This builds a sturdy foundation that won’t sag over time. And here’s a pro move: use green floral wire instead of silver—it blends seamlessly with the greenery and looks far more natural.
Hydration Hack: That 10-15 minute lukewarm water soak in Step 1 isn’t just about flexibility—it’s also about preventing wilting. After soaking, I like to gently squeeze excess water from the stems (but not too hard—you don’t want to crush them). For the 24-hour hydration in Step 4, use a clean bucket with about 2 inches of water. Add a splash of lemon juice (just a teaspoon) to the water—it acts as a natural preservative and keeps the leaves looking vibrant longer. Trust me on this!
Finishing Touch: Once your wreath is complete, I always give it one final inspection with a handheld mirror. This lets me spot any uneven areas or stray leaves from the back—things you’d never notice otherwise. For a polished look, use sharp floral scissors to trim any leaves that stick out too far. And if you’re adding optional embellishments like berries or pinecones, space them out evenly so they don’t overwhelm the boxwood’s natural beauty.
Pro Tips for Make A Boxwood Wreath
- Here’s what nobody tells you about creating a showstopping boxwood wreath—these little details make all the differenc...
- Selection Tip: When choosing your 4-6 boxwood branches, look for stems that bend like willow branches rather than sna...
- Wire Technique: The secret to a wreath that stays put lies in how you use the floral wire. In Step 2, wrap the wire a...
Frequently asked questions
What’s the best time of year to make a boxwood wreath?
Boxwood wreaths are versatile! For fresh greenery, harvest clippings in early spring or fall when branches are pliable but not too brittle. If using dried boxwood, any season works—just ensure they’re fully cured. Pro tip: Avoid winter pruning; it stresses the shrub.
How do I keep my boxwood clippings from drying out too fast?
Wrap fresh clippings in a damp towel and store them in a plastic bag in the fridge for up to 5 days. For longer storage, bundle them loosely and hang upside down in a cool, shaded spot. Spritz with water before arranging to revive droopy stems!
Can I substitute boxwood with other evergreens?
Try pine, cedar, or holly for a similar look. Just note that thorny options (like holly) require extra caution when wiring. Boxwood’s dense foliage makes it ideal for structure, but alternatives work great for texture and color pops.
Why is my wreath losing shape after wiring?
This usually happens if the base isn’t sturdy or the wiring is too loose. Reinforce the foam or grapevine base with floral tape first, and use 18-20 gauge floral wire for tight, secure wraps. Work in small sections, bending branches gradually to avoid snapping.
How long will a boxwood wreath last?
Fresh wreaths last 2–4 weeks indoors (keep them away from direct heat/light). Dried boxwood wreaths can last years if stored in a dry, dark place. For extra longevity, spritz dried wreaths occasionally with water to prevent brittleness.
Bonus Tip:
Need a quick fix? Mix boxwood with eucalyptus or magnolia leaves for a lush, layered look. Just ensure the greenery is disease-free—inspect clippings before wiring!
Wrapping up and next steps
Creating a stunning boxwood wreath is easier than you think—just gather your supplies, follow the steps, and let your creativity shine! 🌿 Whether you’re crafting for holidays, weddings, or everyday decor, this timeless design adds a touch of natural elegance to any space.
Now that you’ve mastered the basics, why not take it further?
- Experiment with textures: Add ribbons, pinecones, or dried flowers for extra flair.
- Try a different shape: Swap the classic circle for a heart or bowtie for a unique twist.
- Share your creation: Snap a photo and tag us—we’d love to see your handiwork!
Your boxwood wreath is just the beginning—happy crafting! ✨