
Tools
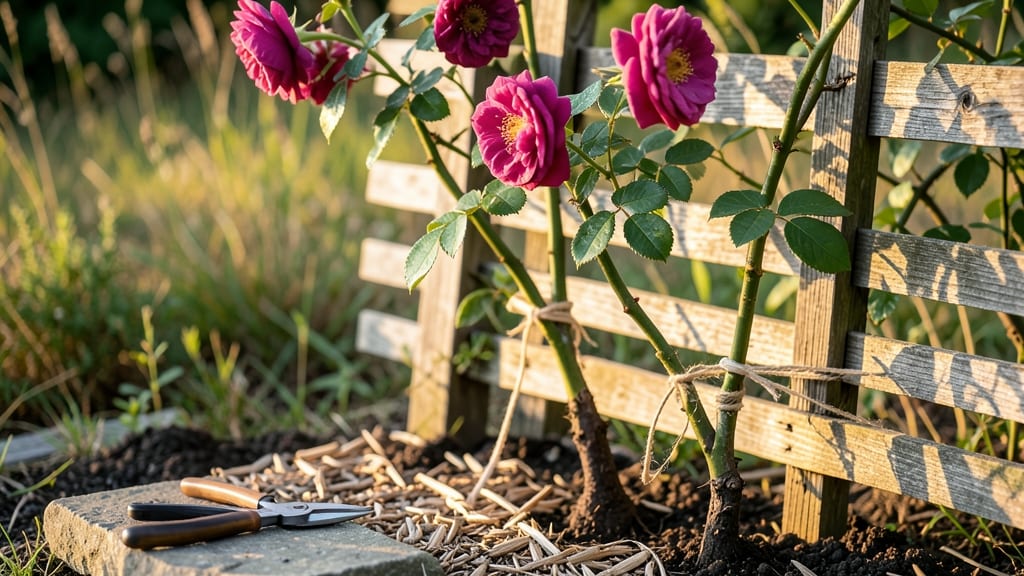
Building a climbing rose trellis transforms bare walls into a fragrant, blooming masterpiece. 🌹 I learned the hard way that roses need sturdy support—my first attempt collapsed under last summer’s storms, leaving vines tangled and blooms drooping. The key is matching material to your garden’s style and climate.
Cedar resists rot, metal lasts decades, and PVC offers budget-friendly flexibility. A simple obelisk takes 30 minutes with basic tools, while lattice panels add elegance for $20-$50 depending on size. Your roses will reward you with healthier stems and longer-lasting blooms, plus a vertical display that steals the show.
Place it where it gets 6+ hours of sunlight and drainage flows freely—no soggy roots here. From classic arbors to modern metal frames, this project adapts to any space. Let’s get those roses climbing!
📚 In This Guide
- What you need
- Instructions
- Tips and common mistakes
- Wrapping up and next steps
What you need
- ● 4x4-inch pressure-treated lumber – 2 pieces, 8 feet long each (for vertical posts).
- ● 2x4-inch lumber – 4 pieces, 6 feet long each (for horizontal supports).
- ● Galvanized or coated metal hardware cloth – 1 roll, 18-inch height x 100 feet long (for climbing surface).
- ● Galvanized screws or nails – 2-inch and 3-inch lengths, ~50 total (for securing wood).
- ● Concrete mix or heavy-duty post anchors – 4 bags (for setting posts) (or 4 anchors if preferred).
- ● Wood preservative or outdoor sealant – 1 can (to protect against rot).
- ● Measuring tape – 25-foot or longer (for precision cuts).
- ● Circular saw or handsaw – for cutting lumber.
- ● Drill/driver – with Phillips and hex bits.
- ● Level – 4-foot or longer (to ensure posts are straight).
- ● Post hole digger or auger – for burying posts 2 feet deep.
- ● Work gloves and safety goggles – for protection.
- ● Decorative lattice panels – for a polished look.
- ● Stain or paint – to match your garden’s aesthetic.
- ● Trellis cap or finial – for a finished touch.
- ● Bamboo stakes or twine – to guide young rose canes.
Step-by-step instructions for building a climbing rose trellis
Here's the method I use to create a sturdy, long-lasting trellis that lets roses climb naturally while supporting their weight.
🪴 Step 1: Plan and Mark Your Trellis Layout
Climbing roses need a trellis that's at least 6-8 feet tall to support their vines properly. I mark a rectangular base 3 feet wide and 4 feet long with wooden stakes at each corner—this gives the structure stability without looking bulky. Use a tape measure to ensure the corners form a perfect rectangle.
For a more decorative look, I sometimes add diagonal supports from corner to corner, creating an "X" shape. This extra reinforcement prevents leaning over time. Drive the stakes 12 inches deep into the soil so they won't shift when vines grow heavy with blooms.
🌱 Step 2: Assemble the Frame with Sturdy Materials
Cut four 6-foot vertical posts from treated lumber (2x4s work perfectly). Attach them to the corner stakes using 3-inch galvanized screws or heavy-duty brackets. I like to pre-drill holes to prevent wood splitting—this is where many DIY trellises fail under rose vine weight.
For horizontal supports, add two crossbeams: one 18 inches from the base and another 3 feet up. Space these evenly to create climbing planes for the roses. Use 2x4 lumber for the crossbeams and secure them with 4-inch deck screws into the vertical posts. This creates a grid that guides the vines upward naturally.
☀️ Step 3: Add Climbing Surfaces for Rose Vines
Here's where it gets fun—attach 1-inch wide chicken wire mesh or plastic lattice panels vertically between the posts. I staple the mesh to the frame with 1-inch staples, leaving 4-inch gaps between each vertical section. This spacing lets vines weave through without getting tangled.
For a more decorative approach, I sometimes use wooden slats spaced 6 inches apart instead of mesh. The key is creating vertical surfaces that roses can cling to with their tendrils. Avoid tight weaves—roses need room to grow and bloom without restriction.
✂️ Step 4: Reinforce and Secure the Structure
Check for wobble by gently pushing each corner. If the frame feels unstable, add diagonal braces from the base to the top corners. I use 2x2 lumber for these, cutting them at a 45-degree angle for a clean look. Secure with 3-inch screws into the existing posts.
For extra longevity, apply a coat of outdoor wood sealant to all lumber. This protects against rot and insect damage, especially important in humid climates. I let it dry completely before planting—roses are heavy feeders, and you don't want a weak trellis collapsing under their weight.
🌿 Step 5: Position and Plant Your Climbing Roses
Plant your roses 12-18 inches away from the trellis, facing the climbing surface. This gives roots room to spread while keeping vines close enough to reach the support. I always plant in early spring when soil is workable but not waterlogged.
As new growth appears, gently tie the main stems to the trellis with soft plant ties. Don't wrap too tightly—you want to guide growth, not restrict it. Watch for the first tendrils, which will naturally curl around the mesh or slats. With proper support, your roses will bloom beautifully upward within a season.
Tips & tricks for building a sturdy climbing rose trellis
Between us, the difference between a trellis that lasts and one that sags under the weight of blooms often comes down to these small but critical details.
Foundation First: The 12-inch depth for stakes is non-negotiable—anything less and your trellis will lean as vines grow heavy. I learned this the hard way after watching a trellis tilt dramatically after just one summer. For extra stability, especially in windy areas, drive stakes at a slight outward angle (about 5 degrees) to create a more stable base that resists leaning.
Material Matters: Treated lumber is your best bet for longevity, but if you're going for a rustic look, cedar naturally resists rot and insects without chemical treatment. For the crossbeams at 18 inches and 3 feet up, I recommend using pressure-treated 2x4s—they're designed to handle outdoor moisture. Pro tip: Pre-drill all screw holes to prevent wood splitting, especially with the 3-inch galvanized screws you'll use for vertical posts.
Climbing Surface Strategy: The 4-inch gaps between mesh sections are perfect for rose tendrils to curl around, but if you're using wooden slats, space them 6 inches apart for a more decorative look. Here's what nobody tells you—roses need to be able to weave through their support. Tight weaves create tangled vines that can strangle themselves. For a hybrid approach, I sometimes combine mesh on one side and slats on another to balance function and aesthetics.
Seasonal Timing: Planting in early spring when soil is workable but not waterlogged gives roots time to establish before summer growth. If you're building the trellis in fall, delay planting until spring—roses planted in cold soil struggle to root properly. The 12-18 inch planting distance from the trellis is ideal because it gives roots room to spread while keeping vines close enough to reach upward naturally.
Pro Tips for Build A Climbing Rose Trellis
- Between us, the difference between a trellis that lasts and one that sags under the weight of blooms often comes down...
- Foundation First: The 12-inch depth for stakes is non-negotiable—anything less and your trellis will lean as vines gr...
- Material Matters: Treated lumber is your best bet for longevity, but if you're going for a rustic look, cedar natural...
Frequently asked questions
Got questions about building your climbing rose trellis?
You’re not alone—let’s clear up the most common concerns to help you get started with confidence! Here’s what you need to know:
What’s the best time of year to build a rose trellis?
Spring or early fall is ideal! Building in spring lets you plant roses right after construction, while fall gives roots time to establish before winter. Avoid extreme heat or frost—your materials (like wood or metal) won’t warp or rust as easily.
Can I use a pre-made trellis instead of building one?
Pre-made trellises (like arched metal or wooden kits) save time and effort. Just ensure they’re sturdy enough for roses (look for 4” x 4” posts or heavy-duty wire). DIY is rewarding, but convenience wins if you’re short on tools or patience!
How do I prevent roses from growing too heavy for the trellis?
Prune regularly to control weight and shape. Use tiedowns (soft garden twine or Velcro straps) to guide vines gently. For extra support, add horizontal crossbars every 2–3 feet. Heavy blooms? Thin out clusters to keep the structure balanced.
Will a wooden trellis last in wet climates?
Yes, but treat the wood first! Use a weather-resistant sealant (like linseed oil) or opt for cedar/redwood—naturally rot-resistant. For extra protection, elevate the base with gravel or a concrete footing to prevent moisture buildup. Metal trellises are also great for rainy areas!
How do I fix a wobbly or leaning trellis?
Check the foundation first: Ensure posts are buried at least 18” deep or anchored with concrete. For minor leans, add diagonal braces between posts. If the base is unstable, dig deeper or use stakes and guy wires for reinforcement. A little DIY repair goes a long way!
Wrapping up and next steps
Building a climbing rose trellis is a rewarding project that adds beauty and structure to your garden while giving your roses the support they need to thrive! 🌸 With the right materials—like sturdy posts, strong lattice, and a little elbow grease—you’ll create a functional and eye-catching centerpiece in no time.
Whether you’re a beginner or a seasoned DIYer, this guide makes the process simple and stress-free.
Now that you’re armed with the know-how, roll up your sleeves and get building! Once your trellis is up, watch your roses climb, bloom, and transform your outdoor space into a romantic retreat. Happy gardening! 🌿