
How To
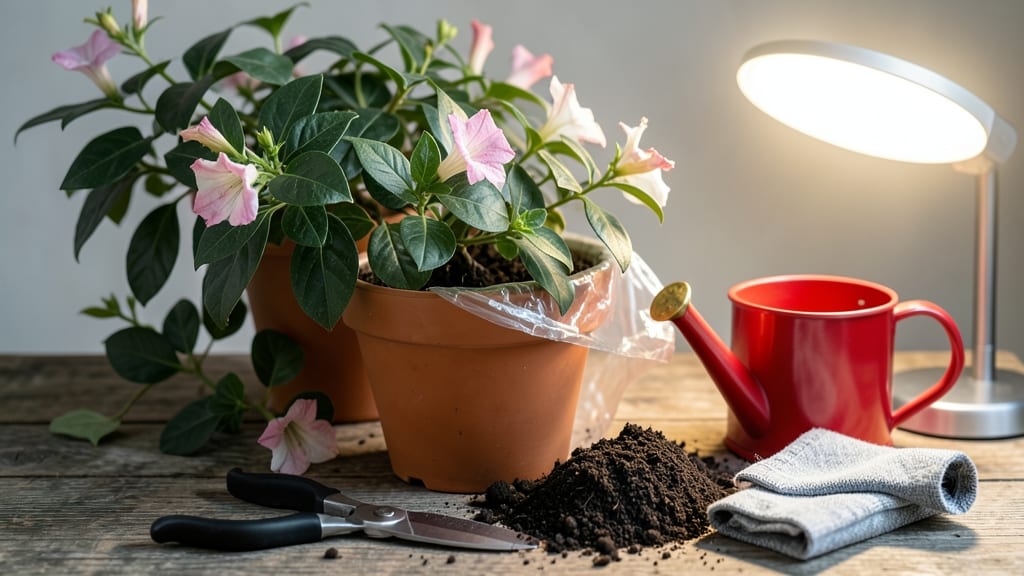
How to overwinter Dipladenia won’t survive winter in the ground—unless you’re in Zone 10. 🌱 I’ve lost too many of these tropical showstoppers to frost, but after three years of trial and error, I’ve cracked the code for bringing them back every spring with blooms just as vibrant.
The secret isn’t complicated: prune back ⅔ of the plant, move it to a bright indoor spot (but not direct sun), and keep the soil barely moist.
Most people overwater during dormancy, which leads to root rot—the #1 killer of overwintered Dipladenias. A simple 5-gallon pot with drainage holes is all you need.
By spring, you’ll have sturdy new growth ready to go back outside, and with gradual reacclimation (a few hours outside each week), those glossy leaves and trumpet-shaped blooms will return stronger than ever. The payoff? Year-round color in containers, even in freezing climates.
Works for both Mandevilla and Dipladenia varieties, and the same method saves your tropical hibiscus too. Let’s get those plants through winter without the casualties.
📚 In This Guide
- What you need
- Instructions
- Tips and common mistakes
- Wrapping up and next steps
What you need
Before you dive into overwintering your Dipladenia (aka Mandevilla), gather these essentials to keep your tropical beauty thriving through the cold months! Whether you're bringing it indoors or prepping for dormancy, having the right tools and materials makes all the difference. Here’s your
Step-by-Step instructions for overwintering dipladenia
Here's my foolproof method for keeping your dipladenia thriving through winter—no dead branches or lost blooms in sight.
🌿 Step 1: Prune and Prepare for Dormancy
Start by cutting back your dipladenia by about one-third of its height. I use sharp, sterilized pruning shears to make clean cuts just above leaf nodes. This encourages fresh growth in spring and prevents disease from lingering in old, dead foliage. Watch for new buds forming at the base—these are your plant's promise of next year's blooms.
Remove any yellow or brown leaves completely, but leave the healthy green ones. These act as food producers until the plant fully enters dormancy. If your dipladenia is particularly leggy, you can trim even more aggressively—just leave at least 6-8 inches of stem to ensure it has enough energy reserves.
⏰ Step 2: Gradually Reduce Water and Light
Over the next 2-3 weeks before the first frost, slowly taper off watering. Let the top 2 inches of soil dry out between waterings—this mimics the natural drying period of winter. Dipladenias are tropical plants, so they need this gradual adjustment to avoid shock. You'll know you're doing it right when the leaves start dropping naturally.
Move the plant to a cooler, brighter location indoors. A 55-65°F spot with 4-6 hours of indirect light daily works best. Too much light causes stress, while too little leads to weak growth. If your home runs cooler, a sunny windowsill is perfect. If it's warmer, supplement with a grow light for 12 hours a day to keep the plant content.
🪴 Step 3: Pot Up and Protect from Cold Drafts
Check the roots for any signs of rot or damage. If the plant is root-bound, repot it into a container 1-2 inches larger than the current one. Use a well-draining cactus/succulent mix to prevent soggy roots during dormancy. Tap the pot gently to settle the soil, but don’t compact it—roots need air to breathe.
Place the potted dipladenia in a spot where it won’t face cold drafts, like near an outer door or a drafty window. If your home has below 50°F nights, consider moving it to a basement or garage with consistent 50-60°F temperatures. Just avoid places with below 40°F—that’s too cold for overwintering success.
💧 Step 4: Monitor and Adjust Through Winter
Water only when the soil is completely dry—this usually means every 3-4 weeks, depending on your home’s humidity. Stick your finger 2 inches into the soil to check; if it’s dry, give it a thorough watering until water runs out the drainage holes. Overwatering is the #1 killer of overwintering dipladenias, so resist the urge to keep the soil moist.
Watch for signs of stress: drooping leaves, mold, or wilting mean you’re either overwatering or the plant needs more light. If the leaves turn yellow, reduce watering immediately. If they brown and crisp, it’s too dry—move the plant to a slightly more humid spot, like a bathroom with a window.
☀️ Step 5: Revive and Repot in Early Spring
When temperatures rise above 60°F consistently, it’s time to wake your dipladenia from dormancy. Start watering again, but lightly at first—soak the soil until water drains, then wait 3-4 days before watering again. This prevents root rot from sudden rehydration. You’ll see new growth within 2-3 weeks if you’ve done it right.
Repot into fresh well-draining potting mix if the roots have filled the container. Trim back any dead or weak stems, and fertilize lightly with a balanced 10-10-10 formula diluted to half strength. Place it back in bright, indirect light and gradually reintroduce it to outdoor conditions over 10-14 days to avoid shock.
Tips & tricks for overwintering dipladenia success
Here's what I've learned from years of keeping my dipladenias blooming through winter—without the guesswork.
Pruning Precision: When cutting back in Step 1, make your cuts at a 45-degree angle just above a leaf node. This creates a larger surface area for new growth to emerge in spring. I've found that leaving those 6-8 inches of stem is crucial—any less and your plant won't have enough energy reserves to bounce back. Use clean, sharp shears every time to prevent tearing the stems, which can introduce bacteria.
Lighting Strategy: The 4-6 hours of indirect light in Step 2 is your sweet spot—any more and you risk burning the leaves, any less and you'll get leggy, weak growth. If your home has limited natural light, a simple LED grow light on a timer for 12 hours works wonders. I place mine about 12 inches above the plant to mimic natural sunlight intensity. Watch for leaves turning pale yellow—this is your plant begging for more light.
Temperature Transition: The gradual move from outdoor temps to your 55-65°F indoor spot is where most people fail. Don't rush it! I've seen dipladenias go into shock when moved too quickly from warm outdoor days to cold indoor nights. Over those 2-3 weeks before frost, I actually move the plant into a sheltered porch area during the day to help it adjust. This mimics the natural temperature drop it would experience in its native tropical habitat.
Winter Watering Wisdom: That 2-inch soil dryness check in Step 4 is non-negotiable. I've ruined more dipladenias from overwatering than from anything else. Here's my trick: I use a chopstick or popsicle stick to check moisture—it's more precise than my finger and gives me a consistent measurement. When you do water, do it thoroughly until it runs out the drainage holes. This prevents that "just damp" soil that's perfect for root rot.
Pro Tips for Overwinter Dipladenia
- Here's what I've learned from years of keeping my dipladenias blooming through winter—without the guesswork.
- Pruning Precision: When cutting back in Step 1, make your cuts at a 45-degree angle just above a leaf node. This crea...
- Lighting Strategy: The 4-6 hours of indirect light in Step 2 is your sweet spot—any more and you risk burning the lea...
Frequently asked questions
Got questions about keeping your dipladenia thriving through winter?
You’re not alone! Here are answers to the most common concerns—so you can enjoy those vibrant blooms year-round without stress.
Can I overwinter dipladenia outside in cold climates?
Dipladenia (Mandevilla) is a tropical beauty and cannot survive freezing temps. Even a light frost will kill it. If you live in USDA zones 9-11, protect it with frost cloth or move potted plants indoors before temps drop below 40°F (4°C). For colder zones, overwintering indoors is a must!
When is the best time to bring dipladenia indoors for winter?
Start monitoring your local forecast in late September or early October. Once nighttime temps consistently dip below 50°F (10°C), it’s time to move potted dipladenia inside. Pro tip: Harden off plants gradually by exposing them to cooler temps for a week before indoor transition to avoid shock.
What’s the ideal indoor overwintering setup for dipladenia?
Place your dipladenia near a south-facing window for bright, indirect light (6+ hours daily). Keep humidity high with a pebble tray or humidifier, and maintain temps between 55–65°F (13–18°C). Reduce watering—let the top 1–2 inches of soil dry out between waterings to prevent root rot.
Will my dipladenia bloom again after overwintering?
Yes! With proper care, dipladenia can rebloom the following spring. Prune leggy growth by 1/3 in early spring to encourage bushier, flower-filled growth. Resume fertilizing lightly (half-strength) in March or April once new growth appears. Patience pays off—think of it as a winter nap for your plant!
My dipladenia’s leaves are yellowing or dropping—what’s wrong?
Yellowing leaves often signal overwatering or low light. Check soil moisture (it should be slightly dry at the top) and move the plant to a brighter spot. Brown edges? Low humidity is likely the culprit—mist leaves or use a humidifier. If leaves drop suddenly, it may be transplant shock after moving indoors; give it 2–3 weeks to adjust.
Can I overwinter dipladenia in water instead of soil?
While dipladenia can survive a few weeks in water (like a cutting), long-term overwintering in water is risky. Roots rot easily without soil support. If you’re propagating, use a well-draining mix (50% perlite/pumice, 50% peat) and keep humidity high. For established plants, soil is non-negotiable for winter care.
Wrapping up and next steps
Overwintering your dipladenia doesn’t have to be complicated—just a little planning and care! 🌱 With the right steps, you’ll keep those vibrant blooms thriving until spring, ensuring your garden stays lively year-round.
Start by preparing early, monitor conditions closely, and don’t hesitate to adjust your approach based on your plant’s needs.
Now that you’re armed with the know-how, take action! Pick a spot, gather supplies, and give your dipladenia the cozy winter it deserves. Ready to see those flowers return in full force? 🌸 Try it today and share your progress!