
Planting
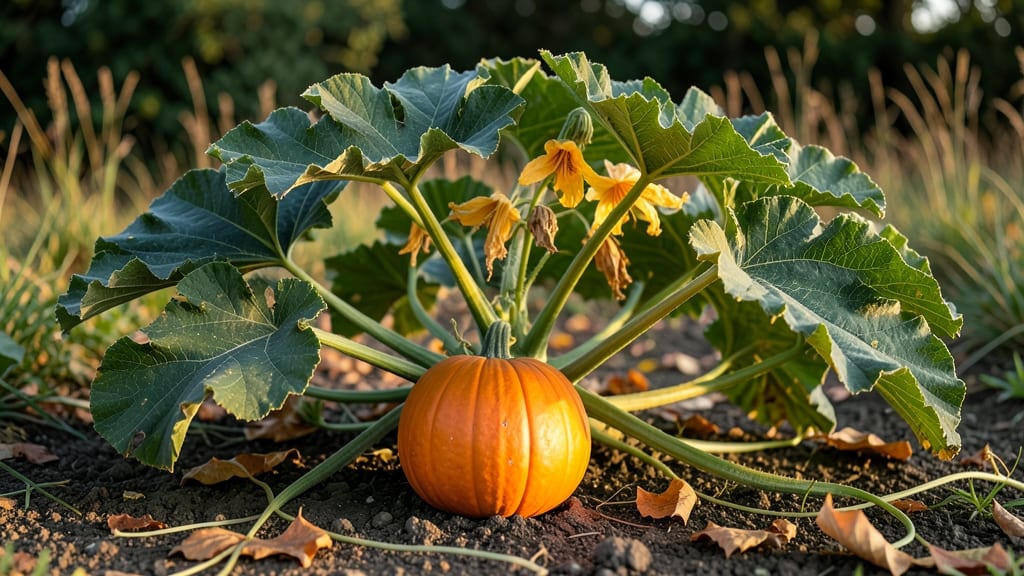
How to keep pumpkin seeds to plant next year—it’s easier than you think! 🌱 After carving or roasting, those seeds hold next year's harvest in their shells. The secret to saving them isn't complicated, but timing and drying make all the difference for strong, viable sprouts.
Start by scooping seeds from fully ripened pumpkins (the ones that fell off the vine or turned orange first). Rinse them gently to remove stringy pulp, then let them dry completely—spread on a paper towel in a warm, dry spot for 3-5 days.
Proper drying prevents mold and preserves germination rates up to 5 years if stored right.
Once fully dry, store them in a paper envelope or airtight container in a cool, dark place (like your pantry). Check for moisture or musty smells every few months—those mean it's time to replant or toss them.
By spring, you'll have seeds ready to grow vibrant, disease-resistant pumpkins that outperform store-bought plants.
This method works for all pumpkin varieties, from jack-o'-lanterns to sugar pies. Just remember: the fresher the seed, the better the start. Now go save those seeds before they disappear!
📚 In This Guide
- What you need
- Instructions
- Tips and common mistakes
- Wrapping up and next steps
What you need
- ● Fresh pumpkin – Choose a ripe, organic pumpkin (or any squash) with healthy seeds.
- ● Sharp knife or spoon – For scooping out seeds cleanly.
- ● Colander or fine-mesh strainer – To rinse seeds thoroughly.
- ● Paper towels or clean kitchen towel – For drying seeds (2-3 towels).
- ● Baking sheet or plate – Line with parchment paper for even drying.
- ● Airtight storage container – A glass jar with a lid (8 oz–1 quart size) or a resealable plastic bag with a silica gel packet.
- ● Label & marker – To note the pumpkin variety and harvest date.
- ○ Optional: Silica gel packets (1-2) – Absorbs excess moisture in storage.
- ○ Optional: Desiccant packets (like those in shoe boxes) – Alternative to silica gel.
- ○ Optional: Small mesh bag – For long-term storage (breathable fabric like burlap).
Step-by-step instructions for harvesting and storing pumpkin seeds
Here’s how I save seeds from pumpkins each fall—simple, reliable, and ready for next spring’s garden.
🎃 Step 1: Extract Seeds From Ripe Pumpkins
Cut open a fully mature pumpkin (skin hard and seeds firm) and scoop out the stringy pulp along with the seeds. Rinse them under cool water to remove any clinging flesh. I like to spread them on a paper towel to air-dry naturally—this prevents mold and keeps them from sticking together.
Let the seeds dry for 24-48 hours in a warm, dry spot. They’re ready when the shells feel hard and papery to the touch. If left too long, they’ll crack or lose viability. I test by pressing a seed between my fingers—if it doesn’t dent easily, it’s dry enough for storage.
🌱 Step 2: Clean and Separate Viable Seeds
Discard any seeds that are shriveled, discolored, or have cracks. Healthy seeds should be plump, smooth, and a consistent color. I use a fine-mesh sieve to remove any remaining pulp or debris—this ensures clean storage and prevents mold during the process.
For extra care, I soak the seeds in a 1% bleach solution (1 part bleach to 99 parts water) for 10 minutes to sterilize them. Rinse thoroughly afterward and let them dry completely on a clean towel. This step isn’t mandatory but helps prevent fungal issues later.
🪴 Step 3: Store Seeds in Airtight Containers
Place the dried seeds in a small envelope or airtight container with a desiccant packet (like those that come with new shoes) to absorb moisture. Label the container with the pumpkin variety and the harvest date—this is critical for tracking seed age and viability.
Store the container in a cool, dark place, like a pantry or refrigerator. Seeds can last 3-5 years under these conditions, though germination rates drop after 2 years. I check them annually—if they smell musty or feel damp, I discard them and start fresh.
⏰ Step 4: Test Germination Before Planting Next Year
Before spring, test a few seeds by placing them between damp paper towels in a sealed plastic bag. Keep them in a warm spot (70-80°F) and check for sprouts in 3-7 days. If 80% or more sprout, your seeds are still viable. If fewer than half sprout, consider buying new seeds for better results.
This simple test saves time and frustration. I always plant a few extra seeds just in case—pumpkin seeds are cheap, and you’ll want that first green shoot!
Tips & tricks for perfect pumpkin seed preservation
Saving pumpkin seeds for next year's garden doesn't have to be guesswork—these simple tricks ensure your seeds stay viable and ready to sprout.
Drying Precision: The 24-48 hour drying window is crucial—don't rush it! I've learned the hard way that seeds dried too quickly (under 24 hours) can still contain moisture and develop mold. Spread them in a single layer on a clean paper towel in a warm, dry spot (like a sunny windowsill). Rotate the tray every 12 hours for even drying. The seeds should feel hard and papery when ready—this is your cue they're properly dried.
Bleach Solution Safety: That 10-minute bleach soak in Step 2 is optional but highly effective for preventing fungal growth. If you choose to skip it, make absolutely sure your seeds are completely dry before storage. I've found that seeds from organic pumpkins (which may have less residue) benefit especially from this sterilization step. Always rinse thoroughly afterward—any remaining bleach can harm the seeds during storage.
Storage Space Strategy: While a cool, dark pantry works perfectly, your refrigerator's crisper drawer is actually ideal for long-term storage. The consistent low temperatures (around 35-40°F) slow down moisture loss and maintain viability longer than typical pantry conditions. Just be sure to use an airtight container with that desiccant packet—humidity is the enemy of seed longevity.
Labeling System: I can't stress this enough: label your containers with both the pumpkin variety AND the harvest date. I've opened containers years later only to forget which type of pumpkin they were! Use a permanent marker on the container lid. Include the year too—this helps you track which seeds are 1 year old (still good) versus 3 years old (time to test germination).
Pro Tips for Keep Pumpkin Seeds To Plant Next Year
- Saving pumpkin seeds for next year's garden doesn't have to be guesswork—these simple tricks ensure your seeds stay v...
- Drying Precision: The 24-48 hour drying window is crucial—don't rush it! I've learned the hard way that seeds dried t...
- Bleach Solution Safety: That 10-minute bleach soak in Step 2 is optional but highly effective for preventing fungal g...
Frequently asked questions
Got questions about saving pumpkin seeds for next year? You’re not alone! Here are answers to the most common concerns—so you can grow your own jack-o’-lanterns or gourmet pumpkins like a pro.
Can I save seeds from any pumpkin or squash?
Not all varieties are ideal! Save seeds from open-pollinated or heirloom pumpkins (like Howden or Cinderella) for consistent results. Hybrid varieties (often labeled "F1") may not produce true-to-type fruit. Check seed packets or labels for "OP" or "heirloom" to be sure.
How long can I store pumpkin seeds before planting?
Properly dried and stored seeds stay viable for 3–5 years in cool, dark conditions. Test germination annually by planting a few seeds—if they sprout within 10–14 days, the rest are still good! For long-term storage, keep them in a sealed container with a desiccant packet to prevent moisture.
What’s the best way to dry pumpkin seeds quickly?
Skip the oven! Spread seeds in a single layer on a paper towel or mesh screen in a warm, dry place (like a sunny windowsill or dehydrator at 95°F/35°C) for 3–5 days. Stir them daily to avoid mold. Over-drying (or using high heat) can kill viability—aim for seeds that are completely dry but still pliable.
Can I eat the seeds I’m saving for planting?
Roast a small batch for snacks before storing the rest. Just don’t season them—salt, oils, or spices can encourage mold during storage. Save a separate batch for eating, and label containers clearly to avoid mix-ups.
What do I do if my stored seeds get moldy or smelly?
Toss them immediately! Mold or a musty odor means the seeds are compromised. To prevent this, store seeds in an airtight container with a silica gel packet or rice (as a natural moisture absorber). If humidity is high, consider a vacuum-sealed bag for extra protection.
Wrapping up and next steps
Saving pumpkin seeds for next year’s garden is easier than you think—and the results are worth it! By following these simple steps—cleaning, drying, storing, and monitoring—you’ll ensure healthy, viable seeds ready to sprout into vibrant pumpkins.
Whether you’re a seasoned gardener or just starting out, this small effort now means fresh harvests later.
Ready to put your seeds to work? Mark your calendar for planting season and get excited for the homegrown bounty you’re about to grow! 🌱✨