
Landscaping
How to install no-dig plastic edging is the game-changer for a garden that looks effortlessly polished—no digging, no weeds, just a crisp border that keeps your beds sharp and professional. 🌿 No-dig plastic edging is the secret weapon for defining beds without the backbreaking work—no digging, no weeds, just instant structure that lasts for years. I’ve used it to keep my raised beds neat and my flower borders from spilling into the lawn, and the difference is night and day.
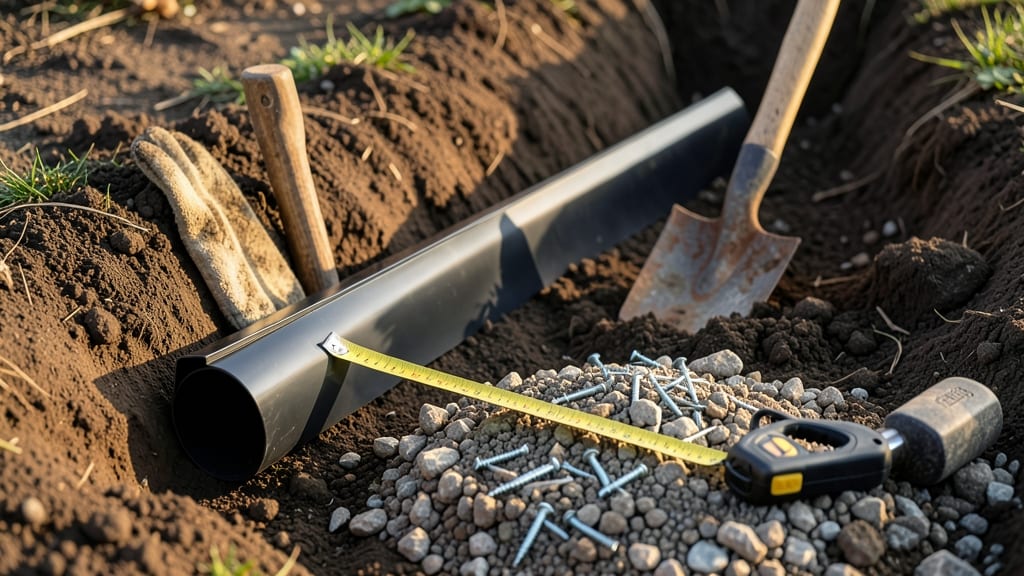
The beauty of plastic edging is how simple it is: just a few tools, a roll of durable plastic, and an afternoon. You’ll need a tape measure, stakes, a shovel (for minimal digging), and optionally, a mallet to secure the stakes.
The key is choosing the right height—6 to 12 inches works for most gardens—and making sure it’s UV-stabilized so it won’t fade or crack in the sun.
Once installed, you’ll have defined garden beds that stay tidy, soil that stays contained, and a look that’s effortlessly put-together. No more fighting weeds at the edges or dealing with uneven borders—just a clean, crisp line that makes your garden look like it belongs in a magazine.
The best part? It’s a one-time project that pays off every season.
Whether you’re lining a vegetable patch, a flower bed, or a pathway, this method works for any garden style. The only mistake to avoid is skipping the stakes—without them, the edging can shift over time. Let’s get started on that perfect, permanent border!
📚 In This Guide
- What you need
- Instructions
- Tips and common mistakes
- Wrapping up and next steps
What you need
- ● No-dig plastic edging: Measure your garden’s perimeter and purchase enough edging to cover the length. Standard widths range from 4 to 6 inches (10–15 cm), with heights of 6 to 12 inches (15–30 cm). Pro tip: Buy 5–10% extra for cuts and mistakes! 💡
- ● Stakes or spikes: Typically included with edging kits, but ensure they’re sturdy and corrosion-resistant (galvanized or plastic). You’ll need 1 stake per 2–3 feet (60–90 cm) of edging.
- ● Landscape fabric: A 3-foot (1m) wide roll to prevent weeds and grass from growing under the edging.
- ● Staples or landscape staples: For securing the fabric to the ground.
- ● Utility knife or heavy-duty scissors: For cutting edging and fabric to size.
- ● Measuring tape and chalk line: For marking straight lines and measuring accurately.
- ● Garden gloves: To protect your hands from dirt and sharp edges.
- ● Work boots or sturdy shoes: For comfort during installation.
- ● Hammer or mallet: To drive stakes into the ground (if not pre-installed).
- ○ String level (optional): Ensures your edging stays perfectly straight, especially for long borders.
- ○ Mulch or gravel (optional): To add a polished finish around the base of the edging.
- ● Clear the area of weeds, rocks, and debris—no digging required! Just remove surface-level obstacles.
- ● Check the ground for any hidden roots or pipes (call 811 in the U.S. if unsure about underground utilities).
- ● Choose a sunny, dry day for easier installation and better visibility.
Step-by-Step instructions for installing no dig plastic edging
Here’s how to create clean, permanent garden borders without digging—no backache, no mess, just a crisp finish.
🪴 Step 1: Measure and Mark Your Garden Layout
Start by measuring the perimeter of your garden bed where you want the edging. Use a tape measure and mark the outline with spray paint or chalk—this keeps your lines straight and prevents guesswork later. I like to use wooden stakes every 3 feet to mark corners and curves, then stretch a string line between them to visualize the border.
Check your measurements twice before cutting anything. A common mistake is skipping this step and realizing mid-installation that the edging won’t fit. For curves, use a flexible ruler or follow the natural shape of your garden with gentle bends—plastic edging handles curves better than sharp angles.
📏 Step 2: Cut the Plastic Edging to Size
Use heavy-duty scissors or a hacksaw to cut the plastic edging at your marked intervals. Cut just outside the string line so the edging sits flush against the garden bed. I find it easiest to cut in 3-foot sections first, then adjust as needed—this keeps the process manageable and reduces waste.
For corners, make 45-degree angle cuts to create clean, mitered joints. If your edging has interlocking tabs, align them carefully before securing. Test-fit each piece before finalizing cuts—plastic expands slightly in heat, so leave a ¼-inch gap at seams if your climate runs hot.
✂️ Step 3: Secure the Edging in Place
Drive stakes every 2 feet along the inside edge of the edging, just deep enough to hold it firmly but not so deep they damage roots. I use galvanized metal stakes because they resist rust and last longer. For extra stability, especially in windy areas, add stakes on the outside edge as well.
Press the plastic down firmly into the soil at each stake. The edging should sit level—use a 2-foot level to check and adjust as needed. If the ground isn’t perfectly flat, bend the plastic slightly to follow the contour. Avoid over-tightening; the edging should flex naturally but not kink.
💧 Step 4: Reinforce and Finish the Border
Fill the inside of the edging with mulch or soil to weigh it down and prevent shifting. For a permanent look, top with landscape fabric before adding mulch—this keeps weeds out and extends the edging’s lifespan. If you’re planting directly against the edging, press the fabric snugly against it to create a clean barrier.
For a polished finish, cover any visible gaps with landscape adhesive or plastic cement (if your edging allows). I also like to add decorative stones along the top edge for a refined touch. Step back and admire your work—this border will stay crisp for years without digging or maintenance.
⏰ Step 5: Test Stability Before Planting
Give the edging a gentle tug at several points to ensure it’s secure. If any sections shift, add more stakes or press the plastic deeper into the soil. Wait 24 hours before planting near the edging—this lets the soil settle and prevents accidental displacement when you water or tend to plants.
Watch for weather changes in the first week. If a heavy rain loosens the edging, reinforce it immediately. Once stable, your no-dig border is ready for anything—flowers, veggies, or even a cozy herb spiral. No digging, no fuss, just a garden that stays neat all season long.
Tips & tricks for installing no dig plastic edging
Here's what I've learned from years of installing garden borders—these tricks save time and frustration.
Precision Marking: In Step 1, take your time with the chalk or spray paint. I use masking tape with a pencil for straight lines—it's more visible than spray paint and won't stain your soil. For curves, wrap a garden hose around the desired shape, then trace it with chalk. This creates perfect, consistent curves every time without guesswork.
Cutting Strategy: When cutting in Step 2, I recommend using a hacksaw for clean, straight cuts—especially for corners. For curves, score the plastic first with a utility knife, then bend it along your marked line before cutting. This prevents jagged edges that can snag on plants. Always cut slightly outside your string line (about 1/8-inch) to ensure a snug fit against the soil.
Stabilization Secret: During Step 3, I discovered that adding stakes on both the inside and outside edges creates a sandwich effect that locks the edging in place. For extra hold in windy areas, use U-shaped ground anchors instead of stakes—they grip the soil better. Press the plastic firmly into the soil at each stake, but don't overdo it; the edging should flex slightly to accommodate soil movement.
Weather Preparation: After completing Step 4, I always check the forecast. If rain is expected within 24 hours, add temporary stakes along the outside edge to prevent shifting. For long-term stability, consider using landscape staples to secure the edging to the landscape fabric—this creates a nearly invisible but incredibly strong connection that won't rust like metal stakes.
Pro Tips for Install No Dig Plastic Edging
- Here's what I've learned from years of installing garden borders—these tricks save time and frustration.
- Precision Marking: In Step 1, take your time with the chalk or spray paint.
- Cutting Strategy: When cutting in Step 2, I recommend using a hacksaw for clean, straight cuts—especially for corners.
Frequently asked questions
about installing no-dig plastic edging—because smooth landscaping shouldn’t come with a side of stress! Here are answers to the most common queries to help you nail that perfect border.What’s the best time of year to install no-dig plastic edging?
Install your edging in early spring or fall when the ground is workable but not frozen. Avoid extreme heat or drought—soil compaction is easier when it’s moist but not muddy. If you’re in a mild climate, any season works, but cooler temps reduce sweat (and plastic warping risks).
Can I install no-dig edging over existing grass or weeds?
Yes! The "no-dig" magic means you can lay it directly over grass, weeds, or even mulch—no tilling required. Just clear large debris first. For a cleaner look, mow the grass short before installing. Over time, the edging will smother weeds as it sinks slightly into the soil.
Is plastic edging cheaper than metal or concrete alternatives?
Absolutely.
Plastic edging costs $1–$3 per foot, while metal (like aluminum) runs $3–$8/ft and concrete $5–$15/ft (plus labor). Plastic is also lighter to handle, rust-proof, and won’t crack in freeze-thaw cycles. For DIYers, it’s the budget-friendly winner without sacrificing durability.
How do I fix sagging or uneven plastic edging after installation?
Sagging happens when stakes aren’t deep or spaced properly. To fix it:
- Dig a shallow trench (2–3 inches deep) along the sagging section.
- Use a mallet to tap the edging into place, adding compacted soil behind it.
- For stubborn bends, cut a small section, adjust, and reconnect with PVC cement or zip ties (hidden under mulch).
Will plastic edging rot or fade over time?
High-quality UV-stabilized plastic (like HDPE) won’t rot but may fade slightly after 5–10 years. To extend its life:
- Choose dark colors (they absorb less UV).
- Avoid direct sun exposure with organic mulch or shade plants.
- Check for "rot-resistant" labels—some blends include anti-fungal additives.
Wrapping up and next steps
Installing no-dig plastic edging is a game-changer for creating clean, low-maintenance borders in your yard. With just a few tools and a little elbow grease, you’ve got a permanent, weed-free solution that saves time and effort.
Whether you’re framing flower beds or lining a pathway, your new edging will keep everything neat and tidy—without the hassle of digging!
Ready to transform your landscape? Grab your materials, follow the steps, and enjoy your polished, professional-looking yard in no time. 🌿✨ Next, check out our tips for maintaining your edging for years to come!